Teaching students to read is a complicated process!
There are sooo many things that need to be happening in their little brains in order for them to become successful, independent readers. We need our students to both learn and use a whole bunch of problem-solving strategies in order to figure out unknown words and make sense of the text that they are reading. These strategies are not automatic (at first) – we must explicitly teach them, and give our students opportunities to practice them.
I wrote a detailed blog post about the seven strategies I teach my students (using animals) last year. You can find it here if you missed it, along with a free reading strategies poster. I have been working on the second strategy (prépare ta bouche avec la mouche) with one of my on-level reading groups, and thought it might be interesting for others to see.
When our students don’t know a word, the first thing that we want them to do is look at the picture. PLEASE don’t hide the pictures, and PLEASE tell your students’ parents to not hide the pictures. Even if they feel their child is just “memorizing.” Memorizing is an important beginning strategy, and the pictures are there for a reason! Get them to touch each word if they aren’t looking at the page and are just “spouting.” They will learn to sound out words later, and pictures will be a huge help when that time comes! So, make sure that your students have mastered Regarde partout avec le hibou (look at the picture) before getting started with this second strategy.
Once they are picture-detective experts, we want our students to transition into looking at the picture AND using the first letter or sound of the unknown word as clues as to what the unknown word could be. Sometimes there is more than one possibility that makes sense, and using the picture alone is often not enough. We also want our students to check and make sure their guess makes sense.
That is an important step – don’t leave it out!
Here is how I do it.

1. CHOOSE A BOOK
You will want to choose a book that is on-level for the students you are working with (their instructional level). Usually when I am teaching this strategy, my students are still on books with predictive text (levels 1-2). You want your students to be able to read the predictable text on their own, but to also have new words that they haven’t seen before throughout the book. If you can, find a book with more than one possible answer to the new word.
For example, I have a book published by Alizé called La ville arc-en-ciel. It is a great book for this strategy because each page says something along the lines of « Il aime le rouge et le bleu. » and in the picture, both red and blue are shown, so students need to look at the first letter in order to figure out which comes first.
If possible, you should also choose a book where most of the new words start with sounds that your particular group knows. If a page had the word auto for example, I wouldn’t use that word to practice this strategy, as my students at this level have not been taught the sound au yet.
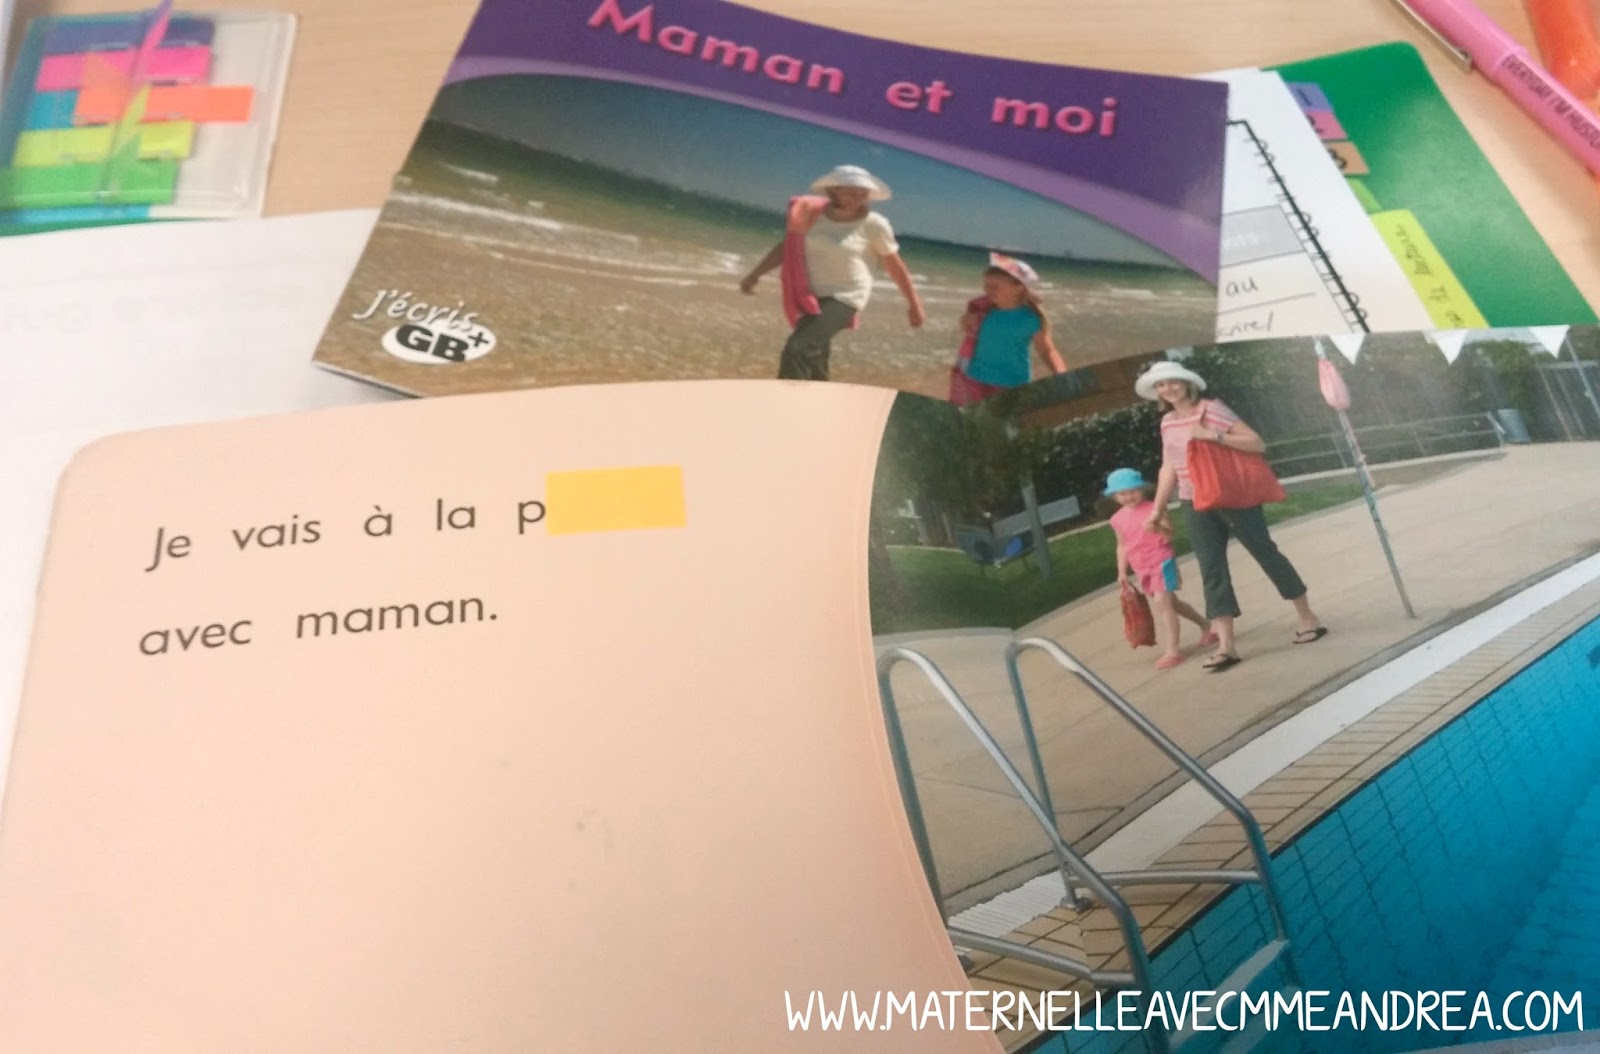
The book I chose for this particular group is a GB+ book called Moi et maman. It is a level 2 and has some difficult vocabulary, so I picked it for one of my groups that speaks French very well (I do consider oral abilities along with known letters/sight words and reading level when I am grouping my students). I knew there would be 1-2 brand new words to review/for them to learn, but the vast majority of the words they would already have in their mental vocabulary banks. I really wanted the focus of this lesson to be on looking at the first letter.
One thing at a time!
Here is a little peek at my planning page for this lesson. I keep it in a binder, open beside me during the whole lesson so that I don’t forget what I want to review!
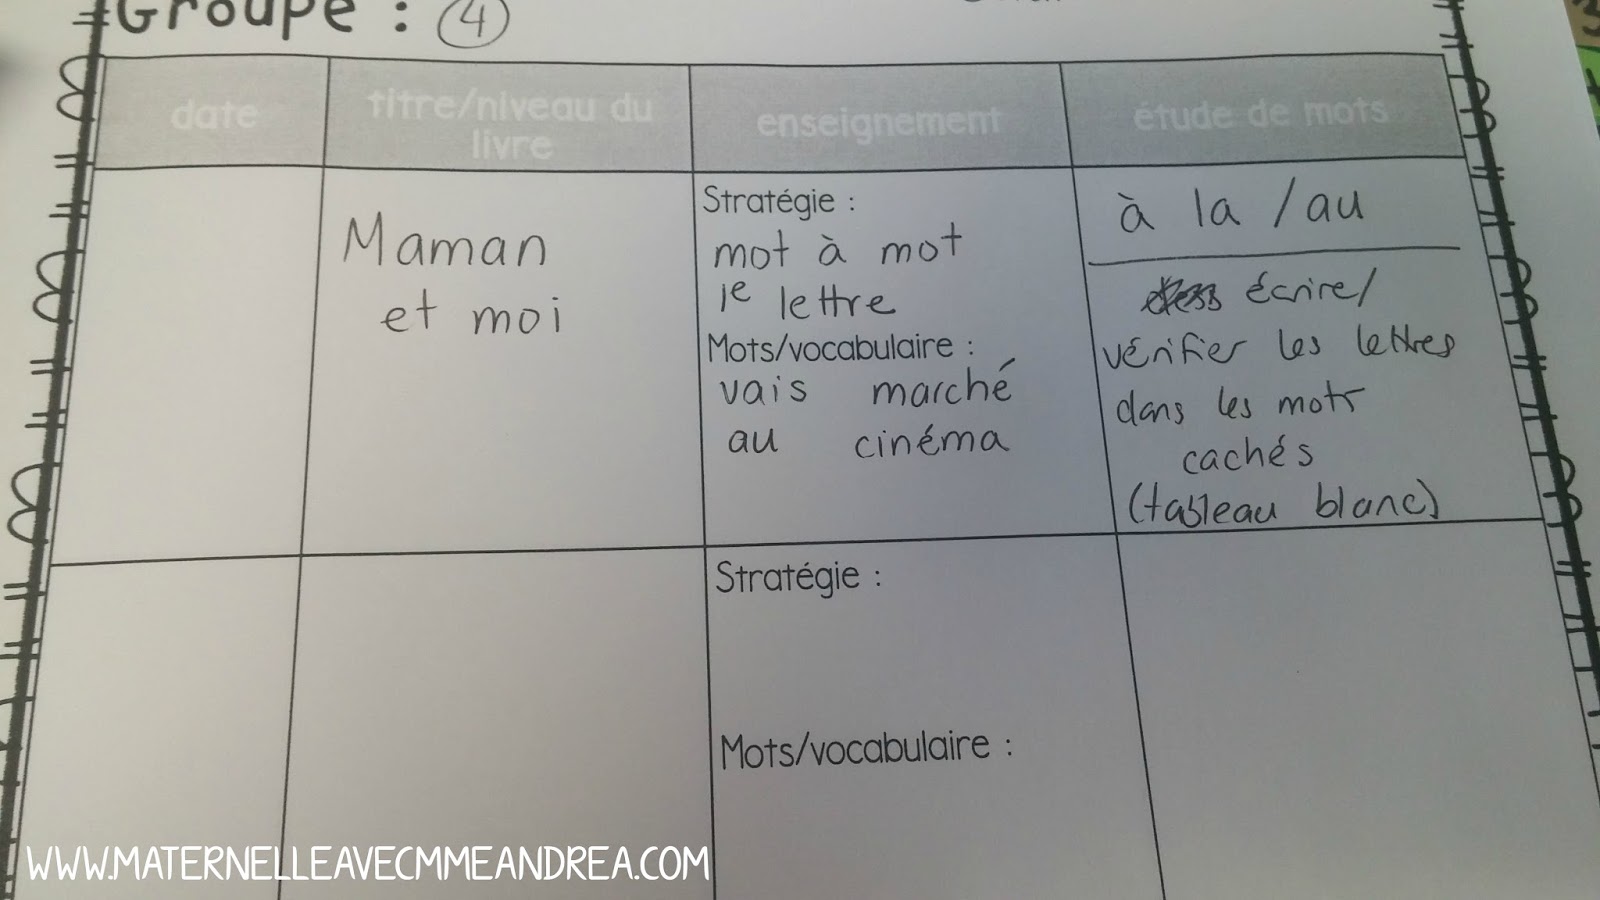
If you are looking for planning pages, there are a bunch in my Lecture guidée pour la maternelle resource. Check it out HERE.
2. COVER THE NEW WORD ON EACH PAGE – EXCEPT THE FIRST LETTER
(Or, you can cover the new word on every other page if you are short on time or if it’s a longer book.)
I use sticky notes and cut them to size. They are easy to pull off and the sticky part is a great size for covering words in most levelled readers. Make sure to not cover the first letter of the word – we want our students using that as a clue for this activity!
If you have a big book that is the same as the small books you are using, I find it easiest to just cover the words in the big book with whole sticky notes and use that for our first read-through and practice. Then you can give your students the smaller copies to practice independently and take home (without the words covered). However, I only have one big book for levels 1-5, so that doesn’t always work out for me!
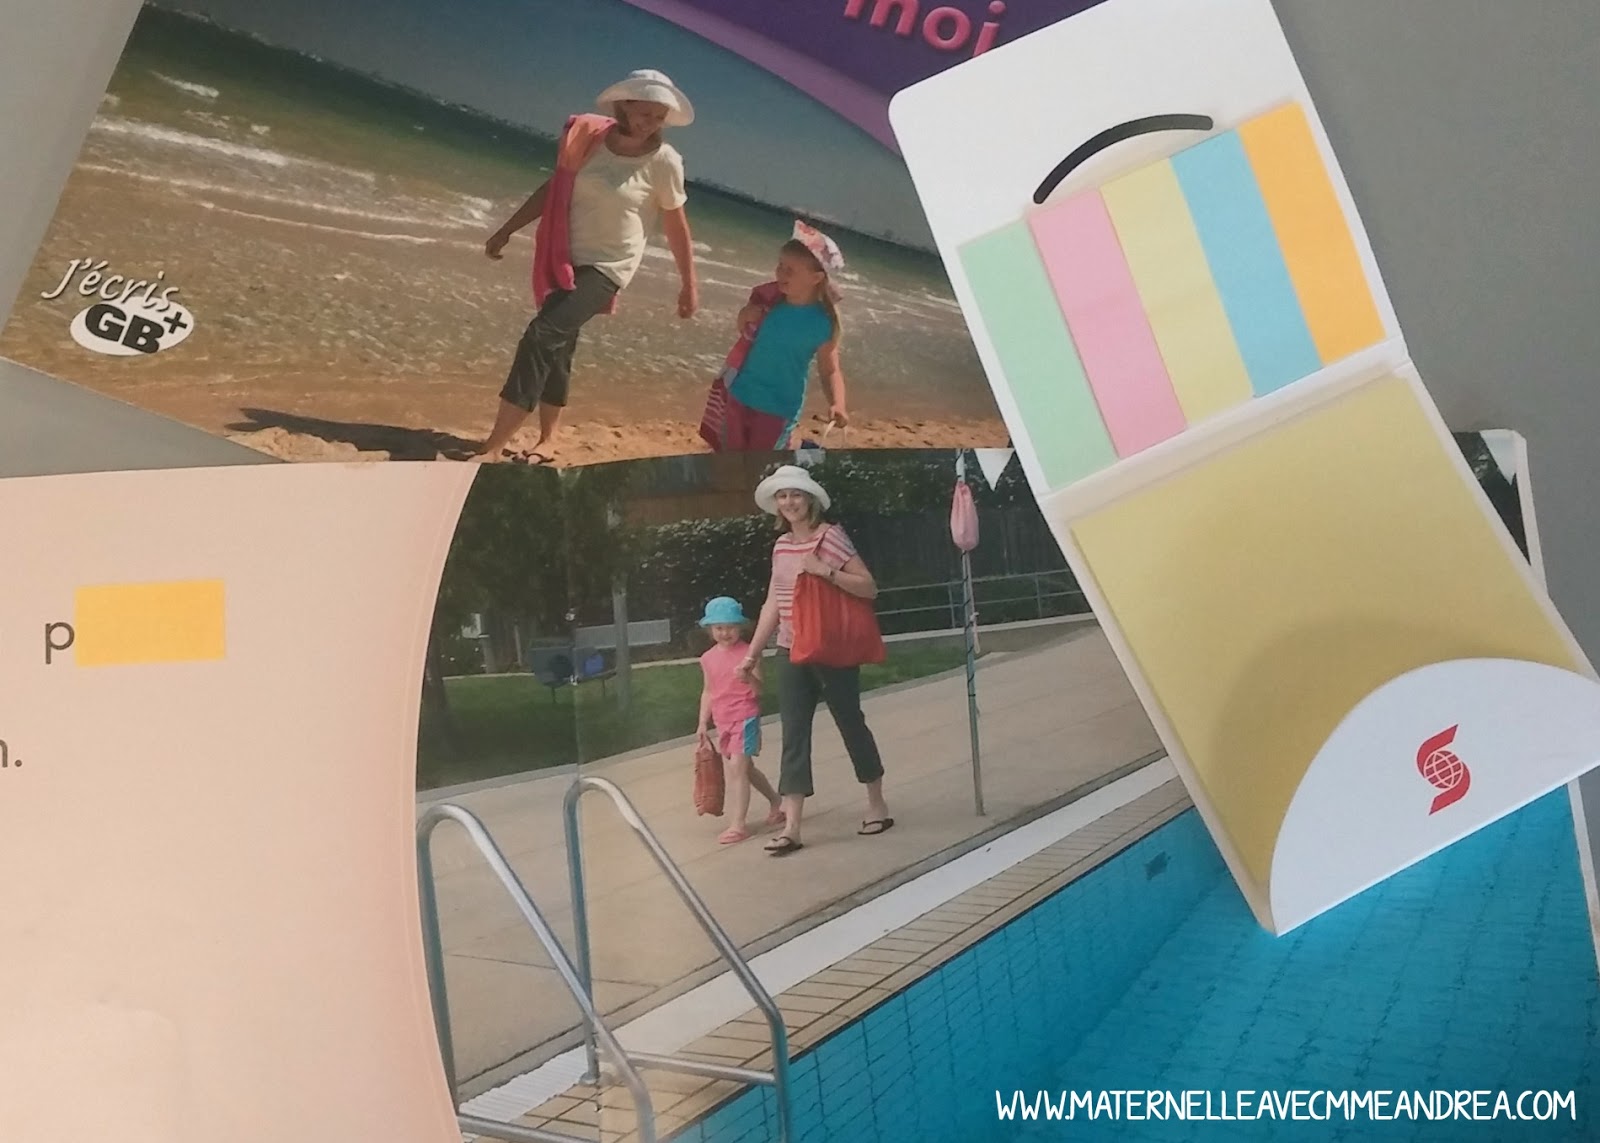
In the above picture, you can see the sticky notes I use. They were free from my bank haha. They don’t work very well as far as sticking goes long-term, but they are perfect for this!
3. DO A PICTURE WALK
I do this EVERY guided reading session with EVERY book I read with my students – and I highly recommend that you do, too! It is super important, especially for our second-language learners. I just cover the words with my hand, and we look at each picture and tell what we think is happening in the story. It gets their brains ready and focused, and you will easily be able to see if they are missing any key vocabulary words, which you can then provide. Use or get them to use the same language as the book as much as possible.
So, if my student has a book with a teddy bear (for example), and they call it an ours en peluche, but the book says nounours, I may say something like « Oui, tu as raison! C’est un ours en peluche. Mais, dans ce livre, on l’appelle un nounours! Nnnn, nounours – quelle lettre pense-tu va commencer le mot nnnnnounours? » Then, hopefully when they see the word on the page that starts with n, it will jog their memory and they will say nounours.
4. PROVIDE A WHITE BOARD/MARKER AND TURN TO THE FIRST PAGE
The white board and marker will help your students check their guesses. To get my students started, I usually say something like « Ok, nous sommes prêts à commencer! Peux-tu trouver le premier mot Je sur la première page? » This is a great quick assessment of who can find the first page/first word. It also gets your students started already touching the word.
Fluency is very important, and must be taught ASAP. However, first, students must have one-to-one correspondence. Almost all of my students who are still at a level 1-2 and who are working on this strategy do not have their one-to-one correspondence fully developed yet, and I have them touch every word, especially during the first read-through. Later on, you can take their finger away and work on fluency.
I get my students to read the first page together, chorally, so that they hear the pattern and know what to do. After that, they do at their own pace. I only have two students to a group, so I find I am easily able to balance guiding them as needed, even if they are on different pages. You can see in the next picture that I hide the same words for both students.

When they get to the first hidden word, ask them to get their mouth ready to make the first sound based on the letter(s) they can see (I say letter(s) because if the word is chat, for example, you would cover the -at but leave both c and h uncovered as they are one sound). Then I ask them if they see anything in the picture that starts with that sound and that would make sense.
5. WRITE AND CHECK
I find this part of the activity the most important! We don’t want our students to just guess and keep going – what if they are wrong? Sometimes it is possible for more than one word to make sense that start with the same initial sound. We need to encourage our students to check and self-correct from the very beginning! I always tell my students that my favourite part of their reading is not when they read a page with no mistakes… it’s when they made a mistake but figure it out and correct it on their own!
So, before my students are allowed to take off the sticky note, I get them to write the sounds they hear in the word they guessed. Then we can compare it with the word in the book and see if we were right.
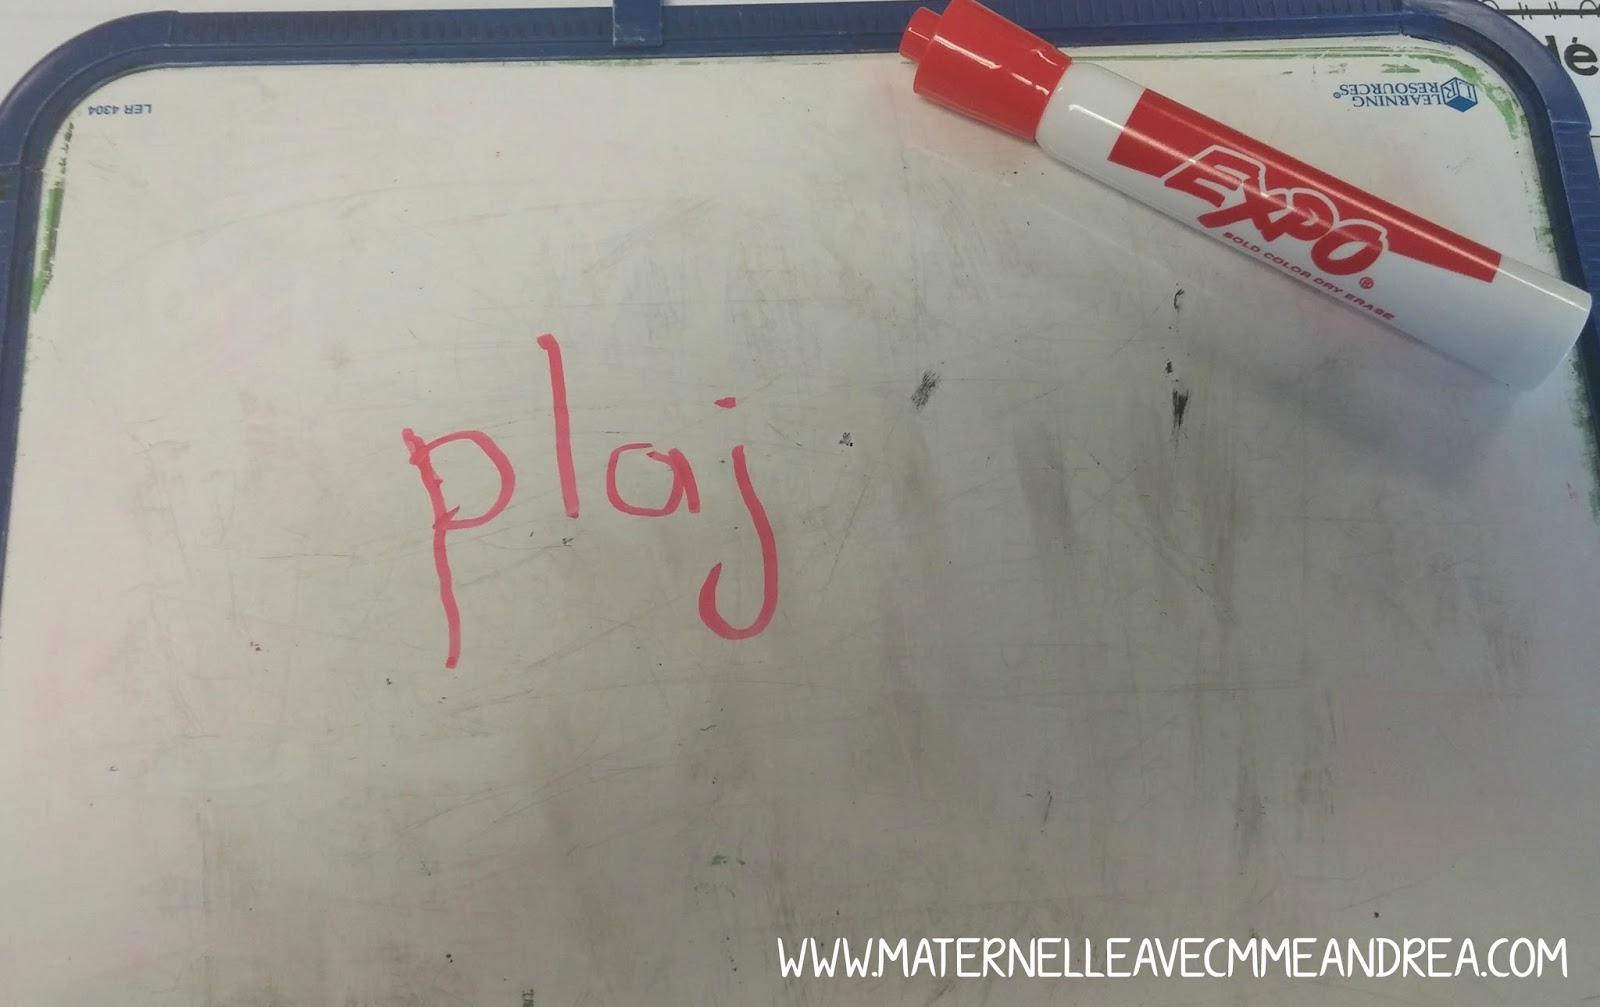
You will see that in this example, my student heard and wrote the sounds /p/ /l/ /a/ and /j/ in their guess, plage. Of course, plage is written with a g and not a j. That’s okay! I just asked my student if any other letters can make the /j/ sound, and said we would keep our eyes open for that letter if we didn’t see a j. He was very excited that he heard and identified all of those sounds, and that they were in the book, as well. He felt confident that plage was the right answer – not océan or another word.
If what he had guessed and written was not the same as what was in the book, I would get him to guess and check again. No problem!
BONUS TIP…
Something that I LOVE to do and that I think is really important is ask my students “How did you know???” when I see them doing something great while they are reading. This helps them verbalize the strategies they are using, which helps them become further cemented in their repertoire.
So, if I am reading with a student and they were to say something like « Le cochon va ici. Le vache – non! Le cheval va ici. La vache va ici », I would get super excited and say « Wow! Quand t’as lu cette partie, t’avais dit le vache. Mais, tu as vu que le mot n’était pas vache et tu as bien dit cheval, tout seul! Comment as-tu su que ça ne pouvait pas être vache?? » and hope that the student would say that there was no v, or they saw the ch, or something along those lines.
Any time my students self-correct, I get so excited and ask them how they knew. I also ask them how they knew if they read a new word – I may say something like « Wow! Tu n’as jamais lu le mot kangourou avant. Quel beau, grand mot! Comment as-tu su que c’était le mot kangourou?? » . Get them verbalizing as much as you can! This will help them know what to do when they come across a tricky word when you are not there. We want them independent!
I hope this post was helpful! I will try and remember to take some more photos of other activities I do to practice reading strategies with my guided reading groups this week.
Guided reading is my favourite time of day!!! <3