Teacher planning is NOT something that comes naturally to me, and is something I have spent many years improving. Luckily, I have compiled a list of super easy lesson planning tips that will be useful for any teacher!
When people who don’t know me that well call me organized, I laugh out loud. It is NOT my default setting and I’ve had to work VERY hard to look organized 😂
I definitely do see the value in planning, however. So, even though it’s hard for me and I would waaaaay rather fly by the seat of my pants, it’s a skill I’ve worked hard at improving over the years.
I’ve come a long way – from lesson ideas written on sticky notes, to planners abandoned by December, to actually using a planner for the whole school year, and learning how to plan annually.
I might not be the BEST person to learn planning from, but if you’re like me and this is a struggle, the tricks I’ve found to make it work might be a better fit for you than advice from someone for whom planning is second nature.
I actually have a LOT to say about planning. So much so that I’ve had to divide my post into three parts. This is Part 1: Get Set Up for Teacher Planning Success!
Teacher Planning Tip 1: Pick a Planner
I’ve tried LOTS of teacher planners over the years (many of them recommended by other teachers). I’ve gotta say, the only time I’ve found one that’s EXACTLY what I need is when I purchase an editable one on TPT and completely tailor it to my needs.
Is this more work? For sure!
It’s it cheaper? Nope, cause I’m a paper snob 🤣
But it’s what works for me, so it’s what I do.
I use Parfaitement Parnell’s teacher planner bundle from TPT. It’s editable, and I’m a PowerPoint wizard at this point, so I did change some colours and added some pages.
I also took some out that I don’t use. I’ve even removed some for this upcoming year that I thought that I’d use last year but didn’t.
That’s why I love an editable planner. You can reflect at the end of each year and adjust as you go!
Here’s a peek at what it looks like inside:
Teacher Planning Tip 2: Annual Plan
My next tip after choosing a planner that works for you is to give annual planning a go.
Annual planning used to be REALLY hard for my brain to wrap itself around. I’m good at big picture stuff, so I would know my end goals well… but I am not a small details person and breaking it down into weeks or even months was a BIG struggle for me. 😬
Last year, I changed how I went about it, and found a way that worked perfectly for my visual/kinaesthetic brain. A way that I could see everything laid out at once, and physically manipulate it/move it around as needed.
If your brain isn’t like mine, today’s tip might not work for you, and that’s okay! Consider your own strengths, and try to figure out how to annual plan in a way that plays to them.
Moving things around and manipulating them is my jam. I am SO visual. I need to lay things out and be able to move them around to determine how they best fit together.
Also, I get super confused when I try to do annual planning on the computer. Trying to do it like “everybody else” (digitally… or, at least without a mess of paper all over the place) definitely held me back from being successful in the past.
I already knew that cutting things out and moving them around works for me. It’s how I wrote university papers and studied for exams.
My friends thought my methods were weird back then (they just highlighted their textbooks and I made a huge mess all over the kitchen table haha). But, I got VERY good results from it all throughout university.
So, my first year in grade one (which has a LOT more outcomes than maternelle), I gave this a try. It worked super well!
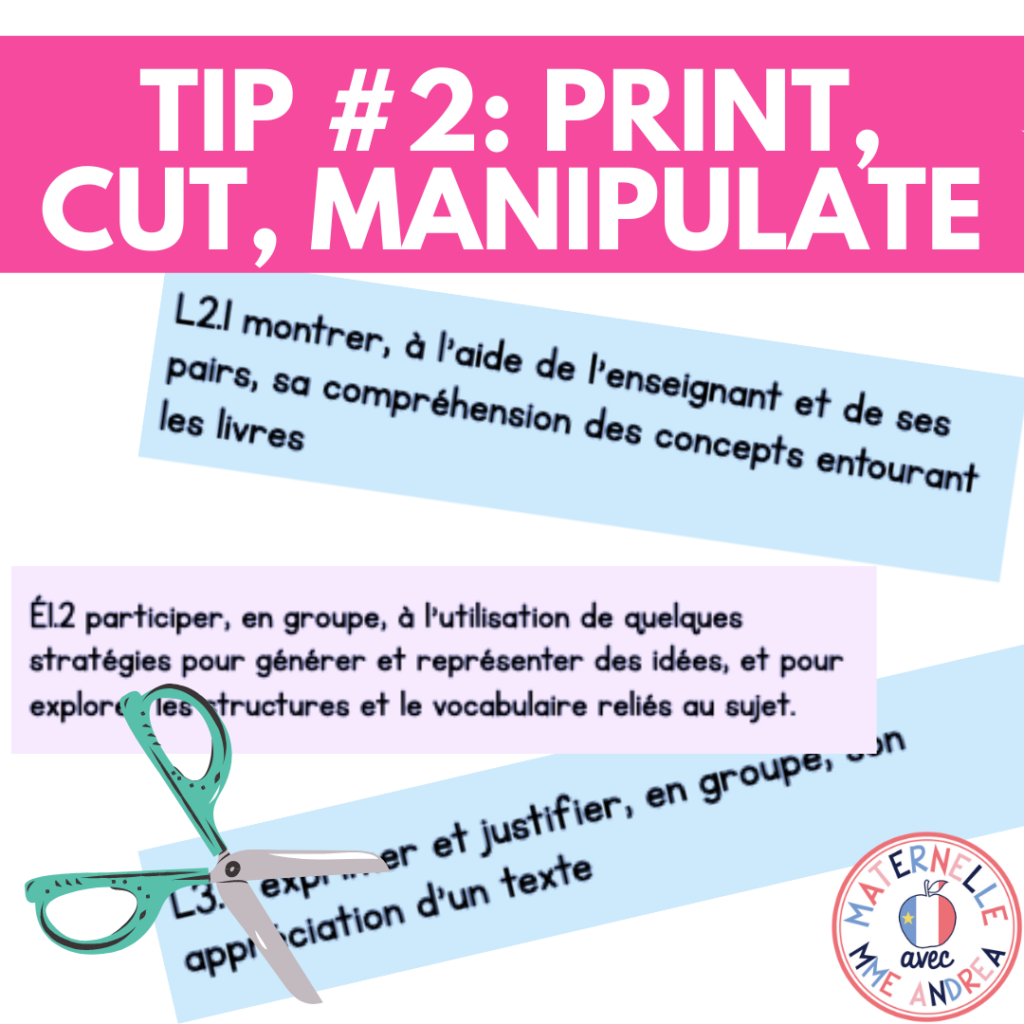
Now, I take ALL of my outcomes for the year, type them up, print them out, and cut them apart. When I have a combined class, I do this for both grades.
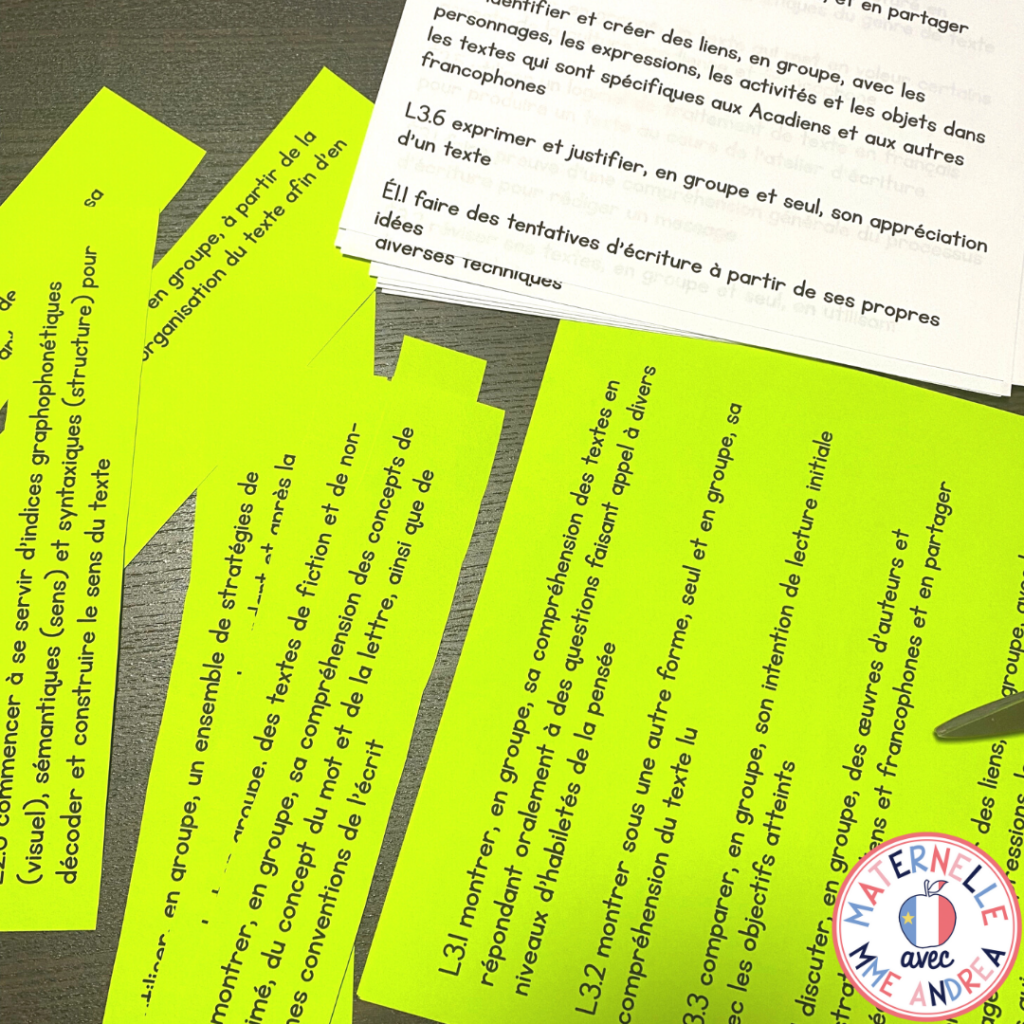
When I have a combined class, I print each grade on a different colour to help me keep them straight. I put any outcomes that are the same/similar together so I can cover them at the same time.
Finally, I make a heading for each month of the school year (using sticky notes – nothing fancy haha). I divide them by term and then I take the outcomes and place them under the month I think will work best.
Throughout this whole process, I am free to change my mind and move things around as needed!
Teacher Planning Tip #3: Add Everything to Your Planner
Once things are looking good, I add them to my planner. I do this step digitally – I type them up right inside of PowerPoint. This keeps everything neat, tidy, and easy to read.
Below is an image of an actual page from my planner last year. This page shows the outcomes I planned to cover in September.
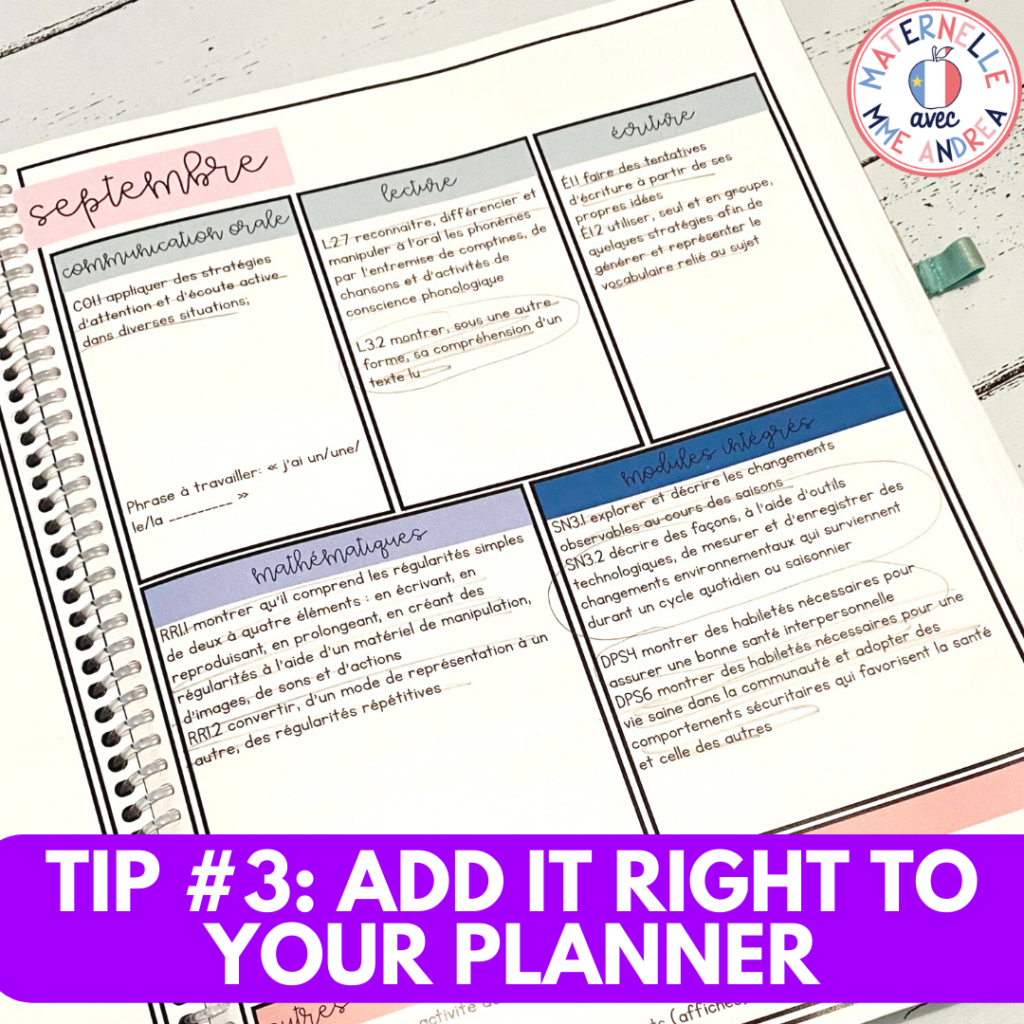
Disclaimer: I added my own pages etc. to Tia’s planner last summer. I can’t remember if these pages are inside or if I just made them in Powerpoint and added them myself!
If you need to add them yourself, it’s pretty simple. Just use the “shapes” tool to make a bunch of squares and then arrange them on the page :)
I am NOTORIOUSLY bad at making beautiful plans and then never looking at them again. I’m working on it! Having my entire annual plan inside my planner, on my desk, in front of my face every day helps me a LOT.
I know that if I didn’t print these out and put them in something I use daily, I’d type them up and never look at them again!
That sums up the first three lesson planning tips. I hope these tips help you find teacher planning success. Tomorrow, I will be back to share three more lesson planning tips!
Looking for similar posts? Click Below!
PS – don’t forget to sign up for the FRL (Free Resource library) here! Just add your first name and email address, and I’ll send you the link and password. There are lots of activities in there that work really well for the first week(s) of school!

