
Welcome back to my mini teacher planning series! I’ve put together my best teacher planning tips that have worked for me over the years. Last post, I talked about picking the right planner and how I do annual plans. This blog post is part 2 of 3.
If you haven’t read the first post of my teacher planning tips yet, you can find it HERE :)
Teacher Planning Tip #4: Check Things Off
As I said last week, I have my annual planning pages printed and added to the front of my planner. I refer back to them throughout the year.
If I don’t have them right in front of me like that, I KNOW I won’t remember to check. I need to set myself up for planning success since it doesn’t come naturally to me. This is one way I do that!
Throughout the year, as outcomes are taught/evaluated, I cross them off. If we didn’t get to one, I circle it. That way, I can quickly glance through it and see where I’ve deviated from my plans. Maybe we did plants in the fall instead of spring like I planned, but we skipped over something else.
This still lets me follow my “go with the flow” heart when it really feels like a good idea. But, it provides me with some extra structure and keeps me on track.
Do I follow this perfectly?
Nope, definitely not!
I don’t believe in perfection anyway, so that doesn’t bother me 😉
This system keeps me on track and aware, so I can make adjustments as needed throughout the year. If I miss/skip something, I just slot it in elsewhere.
It worked really well for me last year, but I know that I can do even better this year (especially if we are able to teach in person all year 🙃). Progress with skills that aren’t easy for me is always my goal!
Teacher Planning Tip #5: Batch It
One of my best tips for being more efficient with your planning is to “batch it”. I batch a week at a time.
Batching is just a fancy way of saying you take one task and do it from start to finish… rather than moving from one thing to the next to try to get more done. Batching helps you be more efficient because you don’t lose time while your brain adjusts to switching tasks. You’re already in the zone!

The first thing that I “batch” is to fill out my planner. I try to do this a week ahead. So, on Mondays, I fill out my (loose) plans for the entire next week.
Since I did the current week the previous Monday and prepped/copied everything the week before, I don’t have to worry about it and I use what I have planned for Friday as my jumping off point for the following week.
Obviously, I do this in PENCIL, because who can follow all their plans perfectly?! Certainly not me haha.
Why do I like to do this rough skeleton of an entire week up front? It makes my printing, copying, and creating SO much easier!
Once I get a brief overview of all my plans sketched out, I’ll know EXACTLY what I need to get prepped for the entire week. That allows me to batch all of those tasks, too!
I use a lot of unit plans etc. wherever I can AND follow a very consistent routine. This makes it easy to just jot down which lesson number we are on.
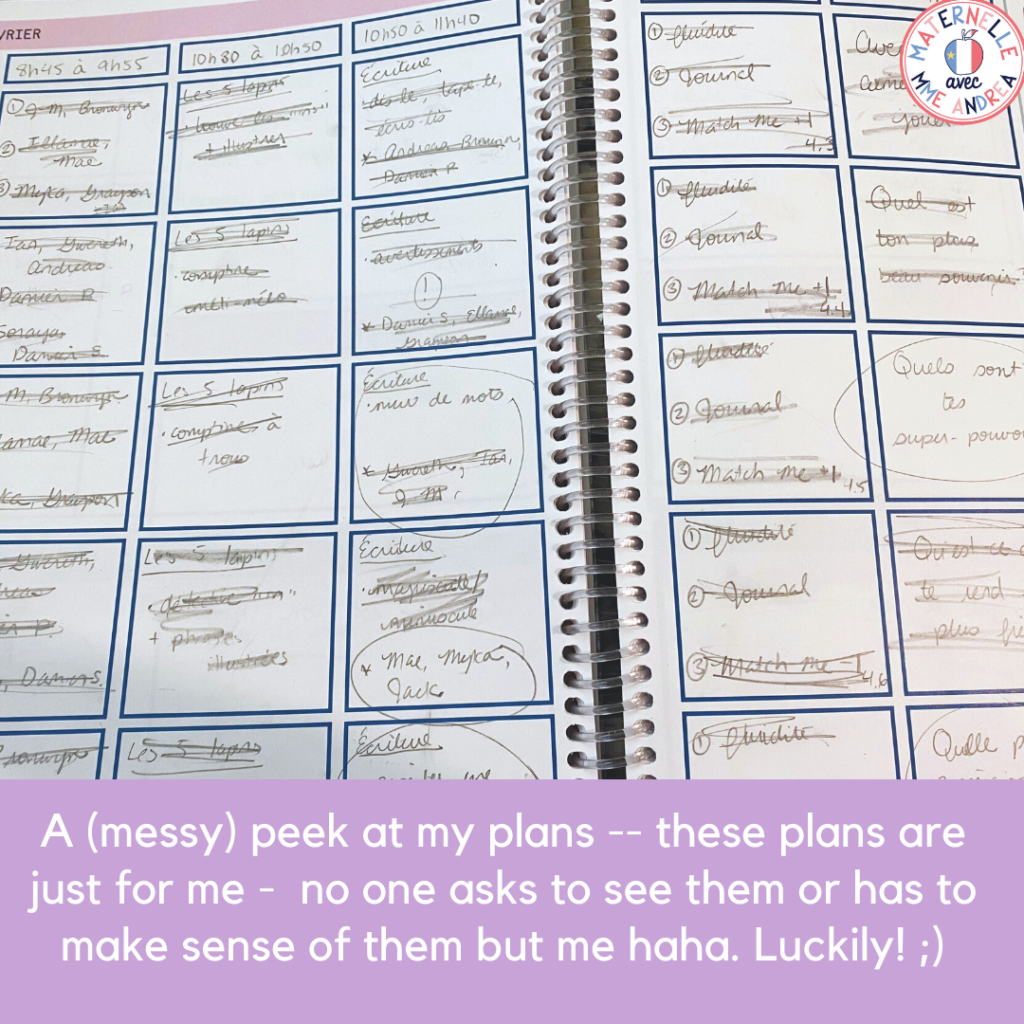
You can see that I cross off what we accomplish as I go, and circle what we missed. This lets me easily change out any lessons for the following week as needed! This is just a guide. There is no need to be perfect or plow through something if it’s not working for my students that day. It’s just an “ideal week” that helps me be prepared!
Remember, my planner is an editable one from Partfaitment Parnell on TPT.
(Note: the first square is for my guided reading groups. With Covid, our centres routine was the same every day, so I didn’t bother to write it down. Names in the third square were my writing groups.)
Teacher Planning Tip #6: Use a Workflow
If you’ve never heard of a workflow, you are missing out! Workflows are life-changing!!!
You can use workflows for anything that you do over and over. I use them for teaching, my business, housework, even report cards!
To create a workflow, you just write down every single step that you need to follow in order to complete a task (in order). EVERY step! Then, when it’s time to do the task, you go through the workflow top to bottom and follow all the steps.
It’s important to add even the steps that seem obvious. The point is that you won’t need to use much brain energy for thinking! Haha
Workflows help you be more efficient and productive, and stay on task. You never have to think about what you need to do next – you already know!
They keep you from being distracted. Everything you need to do to complete a task is on the list – no surprises.
I also find them really motivating – I love seeing how far I can get through a workflow on my prep. I check things off as I go, so I know EXACTLY what I need to do on my next prep if I don’t get all the way through it. Plus, I get to spend all my energy on getting things done, rather than wondering what I should be doing.
To create my first workflow for any project, I write it out at the same time that I am actually completing the task.
So, for weekly planning, each time I did something, I added it to my workflow. It took a couple of times before I had my workflow as close to perfect as possible. It’s normal to forget steps and not realize until you’re going through it! Once it was just what I wanted, I printed a stack to keep behind my desk (I printed three to a page).
Each new week, I grab a copy, staple it to the page in my planner I’m working on, and go through it top-to-bottom on my preps. Only on my preps! I don’t go in more than 20 minutes early and I leave ASAP after school now.
Here’s a peek at mine from last year. On the top, I wrote out the steps, and then below, I put all the copies I make weekly.
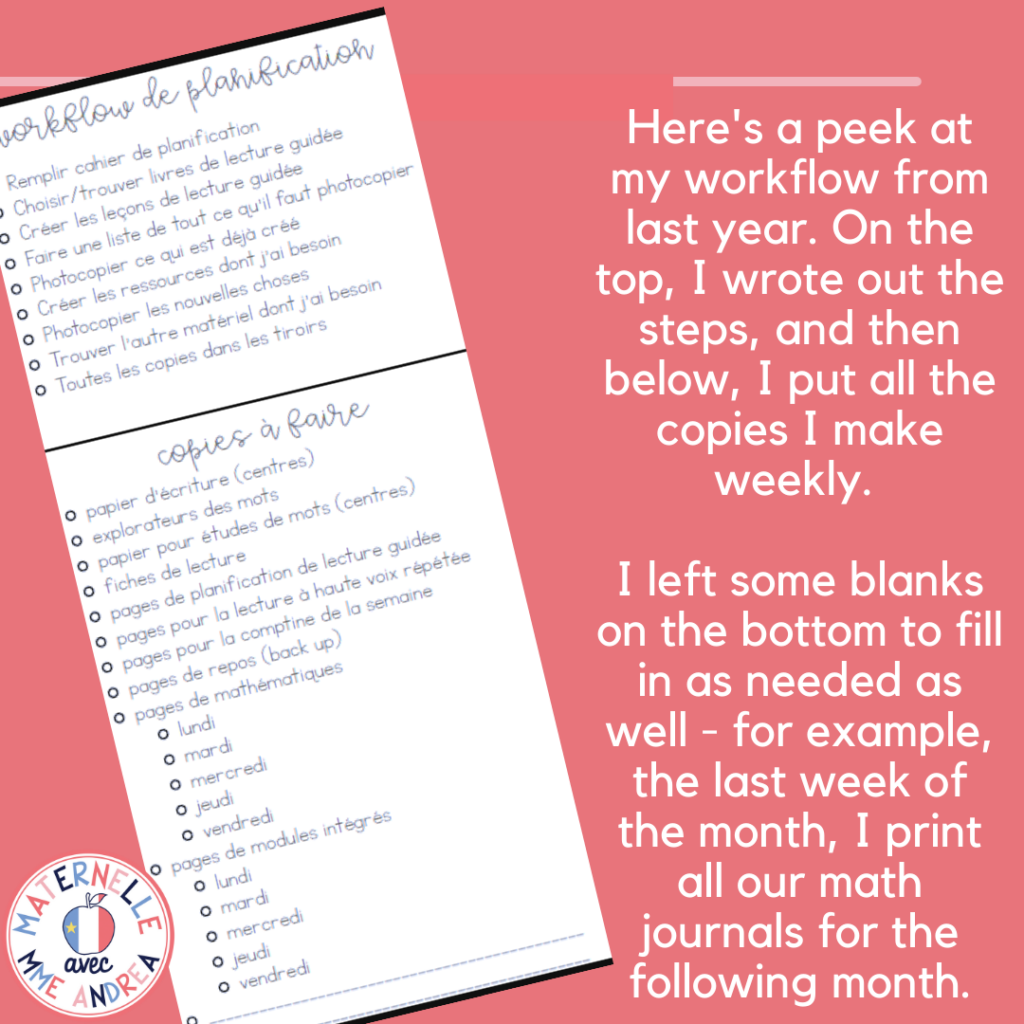
I left some blanks on the bottom to fill in as needed as well. For example, the last week of the month, I print all our math journals for the following month.
Another thing I do is “batch copy”. I make a list of everything I need to copy in the “notes” column of my planner page, print it, and copy it for the entire week in one shot. Then, I put the list under where I staple the workflow so it’s like a “lift the flap” scenario haha.
I usually fill my planner Mondays, prep guided reading Tuesdays, make the list and copy what I have on Wednesdays. Then, I make new stuff Thursdays, and print & copy what’s left on Fridays. 4 day weeks are a bit trickier but I follow that as close as I can!
Next week, I’ll show you where I store all those copies that I’ve made a week ahead.
Want to try workflows?
You can grab an editable copy of my workflow at this link. You’ll need to resize and change some fonts around – the fonts I use aren’t available in PowerPoint. But, I thought it might be helpful for a jumping off point!
Be sure to check out part three of this series as well – coming your way tomorrow!