My guided reading routine
How students learn to read
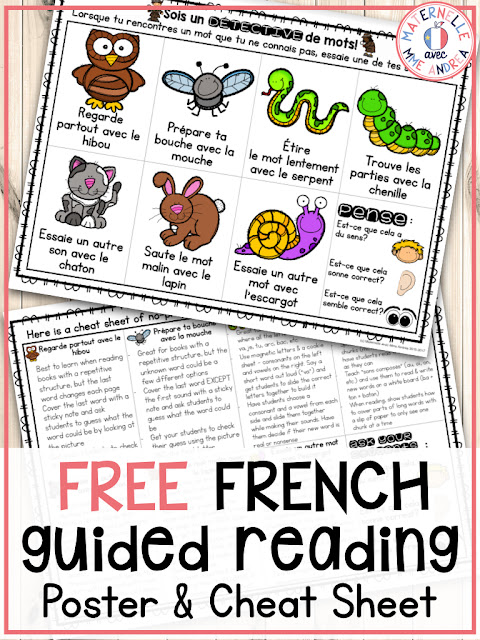
My animal reading strategies
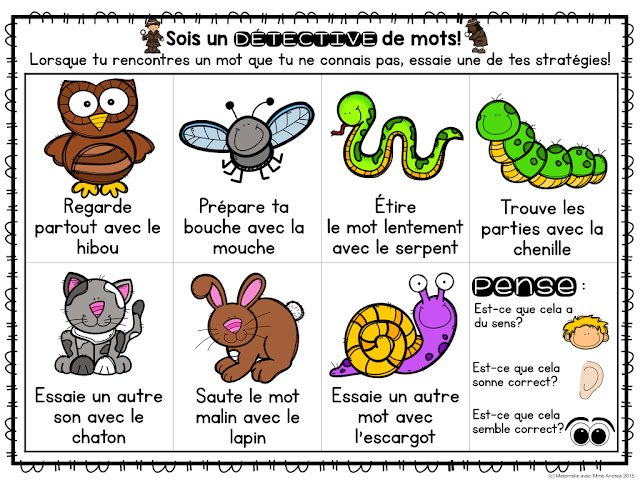
The 7 Strategies I Teach My Students
Regarde partout avec le hibou
The owl will remind students to look at the picture for clues to what the unknown word could be.
This strategy is perfect for those Level 1 books with predictable text!
Students will be able to read the predictable part of the story, and then check the picture for an idea as to what the unknown word will be.
By looking at the picture, they are thinking about what would make sense based on visual clues to finish the sentence.
Prépare ta bouche avec la mouche
The fly reminds students to get their mouth ready to make the beginning sound of the unknown word.
Then they can use the beginning sound in addition to the picture to come up with a word that makes sense.
This strategy is most helpful when students say things like, “Je mets mes souliers” when the book says, “Je mets mes bottes.”
Both make sense when the student looks at the picture, but when they get their mouth ready to make the /b/ sound in bottes, they will know that the word can’t be souliers.
This strategy can be taught once students know a good chunk of the letters of the alphabet and their beginning sounds.
After I teach this strategy, but before I move into the next one, I like to get my students to practice listening for, and segmenting, sounds in words.
We do this during our Étude de mots time during our lecture guidée block, usually after we have read our book.
When I introduce this idea, I don’t use letters yet – we do this totally à l’oral.
I find that my students often struggle hearing multiple sounds in words without a lot of practice, especially if French is their second language.
Adding letters to the mix right away takes the focus off of just listening, and adds a whole new degree of difficulty.
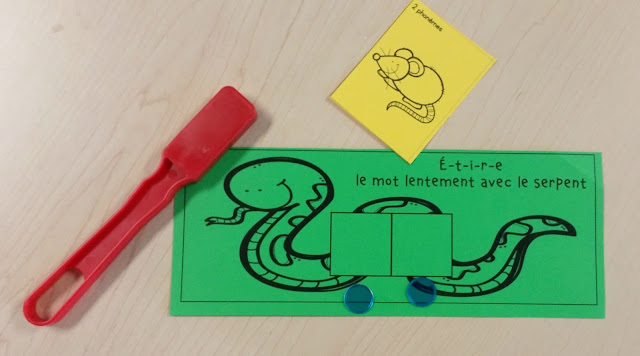
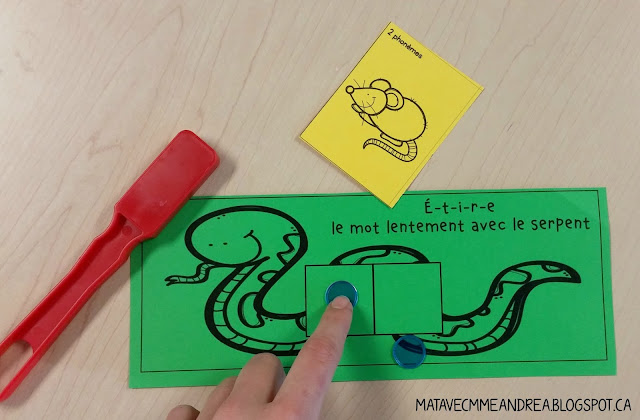
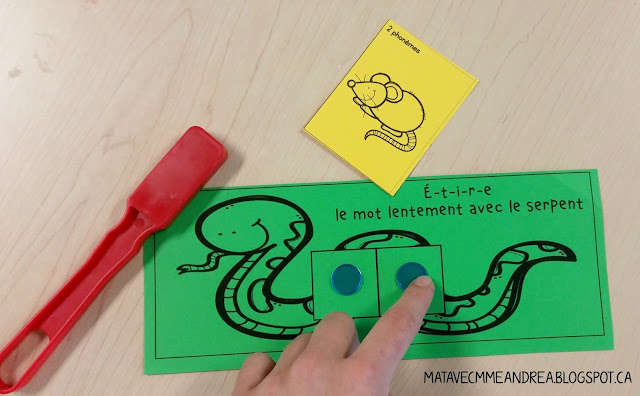
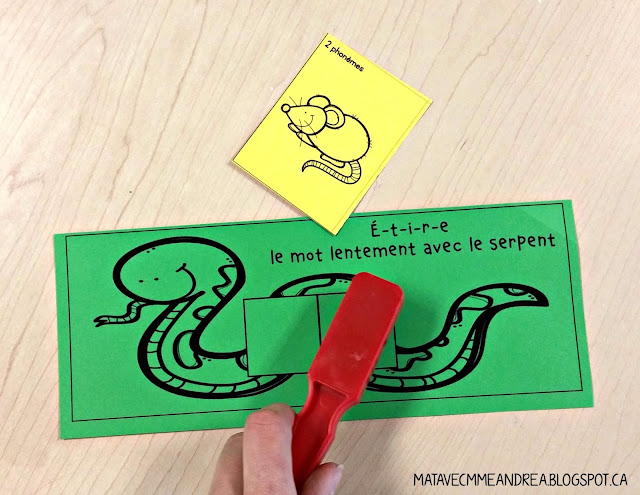
So, how do I practice listening for sounds and segmenting/blending words without letters? With snake mats and manipulates!
Then, they identify the first sound and say it (rrrrrrrrrr) while sliding up the first manipulative.
In these pictures, we are using magnetic bingo chips that I ordered from Amazon. They are our favourite!
You can also use seasonal erasers, regular bingo chips, or anything else they can slide.
Here is an affiliate link for the magnetic Bingo chips & wands that I use.
Finally, they blend the word together and say the whole thing: « rat! ».
They LOVE using my “magic” (magnetic) wants for this part.
When they sweep the wand from left to right, blending their sounds, the wand picks up their Bingo chips.
It’s truly magical hahaha. They get so pumped!
If you are using another type of manipulative, they would sweep their hand left to right, picking them up while blending the word.
Once they get really good at two phonemes, we move onto three.
For variety, you can also do this activity with slinkies. They pull the slinky apart while segmenting, then push it back together to blend.
Étire le mot lentement avec le serpent
Now we are getting into decoding. This takes LOTS of practice.
Unfortunately, in French, there aren’t that many simple, common words that students can practice decoding that don’t have silent letters and sons composés.
I start with two-letter words (of which there are happily quite a few).
I like to use magnetic letters on a cookie sheet for this. Mine are colour coded: blue for consonants, red for vowels.
Here is an affiliate link for the magnetic letters that I use.
(You will probably need 2-4 sets to have enough letters for each student, depending on how big your groups are.)
I give them a few letters (for example a, v, t, m, s) and ask them to put all the blue letters on one side of the sheet and the reds on the other.
Then I say a word out loud (va). They repeat the word s-l-o-w-l-y like a snake and slide the correct letters together.
You can also use the snake mats and whiteboard markers and get your kiddos to write the letters they hear, one at a time if you don’t have magnetic letters.
Once we are two-phoneme word masters, we work on three-phoneme words with beginning, middle, and end sounds.
There aren’t many in French, so in my Lecture guidée pack, I provided you with a list of the ones I use, and the magnetic letters you will need to make them.
And remember – after a student segments a word, they HAVE to put it back together again, à l’oral!
This helps them when they read. It’s no good for them to decode a word slowly by saying all the letters, but then not put them together to make a word.
Your students will not understand what they have read if they can’t stick the sounds back together again!
That is why we have to practice segmenting and blending in isolation like this. Following that, they will be able to transfer their skills and use them while reading.
At this time, I also introduce a couple of sons composés that my students will see in their books – usually “on” and “ou” to start.
I do the same activities with the snake mat. I keep the son composés in one square even though there’s more than one letter, because together they make one phoneme.
Trouve les parties avec la chenille
This is when I show my students how to read words in parts.
We practice looking for other sons composés, and we practice reading words in syllables.
This is such an essential strategy when they start reading longer words!
It’s so much easier to read “salade” like “sa-la-de” instead of like “/s/-/a/-/l/-/a/-/d/-/e/” – the poor kiddos will forget all the sounds they have read!
Saute le mot malin avec le lapin
Sometimes, it’s more efficient to think of a word that would make sense than to decode a word using its letters.
If a word is tricky for a student, they may be able to skip the word, finish the sentence, and then go back and try a word that makes sense.
Of course, you HAVE to teach them that they can’t just skip it and finish the book – they need to go back and try a word out!
A fun way to practice this strategy is to cover a few words in their book with a piece of paper. Get them to read the rest of the page and think about what word would make sense in that place.
I like to get them to write down the sounds they hear in their guess on a whiteboard, and then check through the word once they take the paper off and see if they were right.
If not, I get them to use their new clues (the letters of the uncovered word) to make another guess that makes sense.
I also have a product on TPT specifically for practising this strategy. It’s called Mot caché and you can check it out right HERE.
You can do this same activity with the mouche by covering a word except for its first letter!
Essaie un autre mot avec l’escargot
This strategy is for when a student gets big-time stuck.
They have tried everything else and still can’t figure out what the tricky word is.
Sometimes, this is going to happen. But we don’t want our students to get stuck on an impossible word forever and refuse to continue their reading until someone comes and helps them!
We want them to be independent. Sometimes, they aren’t going to know the exact word.
However, they should be able to think of another word that would make sense.
Students can use the structure of the sentence and their knowledge of language to replace the unknown word with something else that doesn’t take away from the meaning of the text.
Then, they can continue reading and ask for help from an adult at another time.
For example, if a student is reading a book that says “J’aime mes moufles rouges!” and they have never heard the word “moufles” before and couldn’t decode it, tried skipping it and coming back but their guess didn’t match up, etc., they might get stuck there forever – if you don’t teach them this strategy.
Instead, we want them to look at the picture, see that the character has red mittens, know that it would make sense to say “J’aime mes mitaines rouges!”, say that instead, and continue reading.
Then later they could check with an adult what the unknown word was.
And, don’t forget…
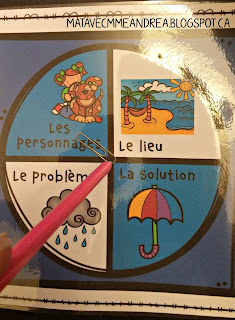
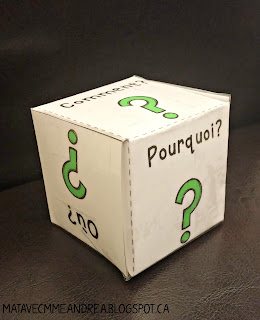
Rather than drill them with interview questions after we read, I have some spinners and dice that we use to pick a question or two to answer each time.
(All of those questions, spinners, and dice are included in my Lecture guidée pack on TPT.)
To keep all of this organized, I have a lecture guidée binder and a set of drawers.
My binder is a 1″ binder from Costco. In it, I have a tab for each group, and a tab for each student. I also have a tab for my weekly plans.
You can organize your planning any way you like, but here is what I do!
First, I have a sheet to keep track of my groups. My guided reading groups are pretty fluid – when someone is no longer a good fit for their group, I move them to another.
Right now I have five groups, but later in the year, I may have six, or eight… or even four!
I keep this sheet in a plastic sleeve and write my students’ names with Sharpie. I can wipe it off using hairspray (#protip) if I need to move someone.
I use colours to keep track of my groups, and I let my group with the most needs choose their colour first.
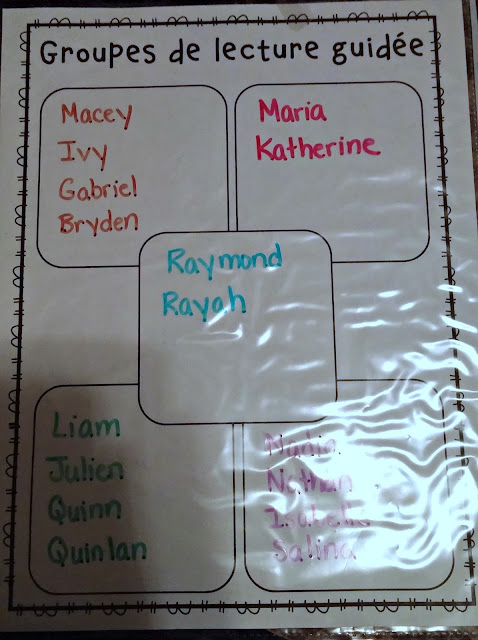 |
| My groups on the sheet are in no particular order |
I also have a sheet for each group with space to plan out four lessons.
For groups I see more often (my below-level readers), I copy it double-sided and plan out eight lessons.
This helps me make sure that my lessons have continuity and progression, and it helps me see the big picture!
I keep the sheet for each group behind the group tab in my binder.
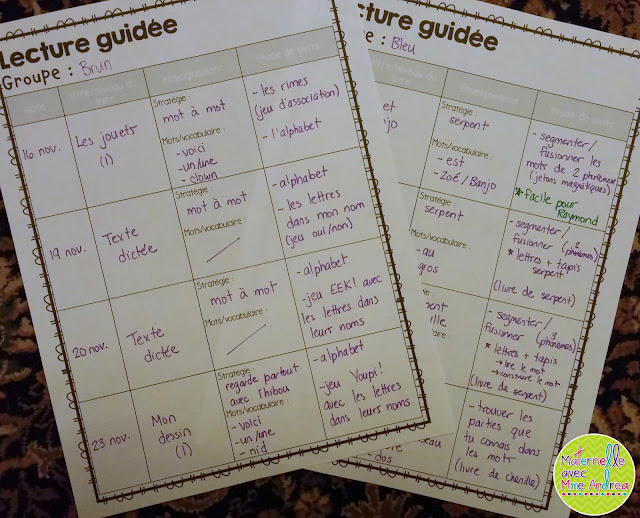 |
| After each lesson, I add notes with a different colour of pen if needed |
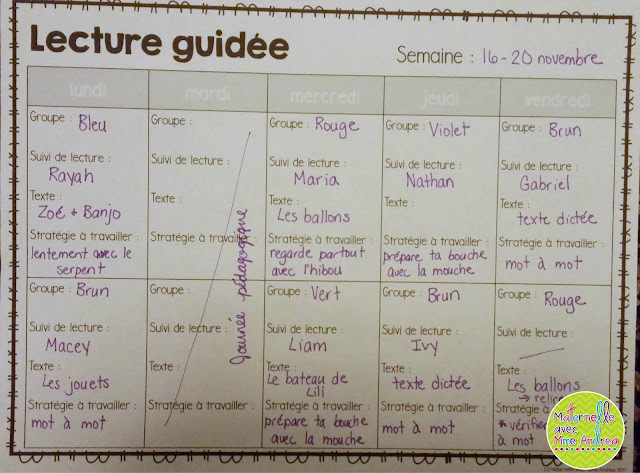
Then I have another sheet I use to plan out my week.
This is a sheet I look at all week long and keeps me on track!
Since I have 4-8 lessons planned ahead of time for each group, it’s easy to sketch out what the plan is for any given day for any given group on my weekly schedule.
I also do a fiche de lecture each time I give my kiddos a new book, so I can easily see who needs to sit by me so I can hear them read, and it helps me not miss anybody!
These sheets go behind each students’ tab. They help me make sure that I am giving them books to read at their instructional level and see at a glance what they need to work on.
I like to use my own sheet, rather than the one provided by my school board because it has a place where I can circle which strategies my student used.
It makes it so easy to see their next step!
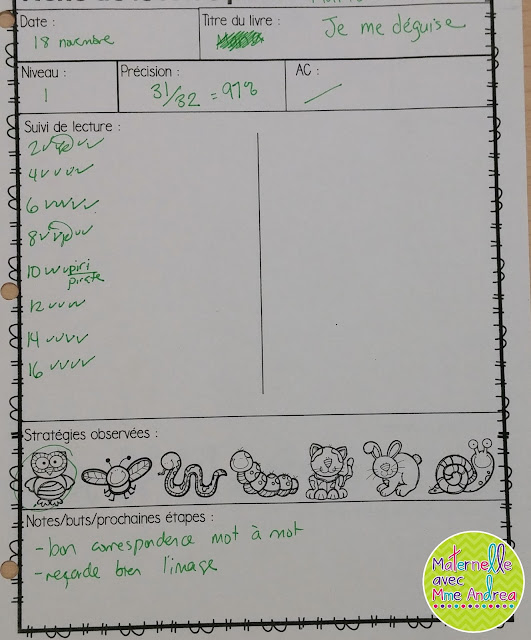 |
| Ignore my hen scratching/grammatical error haha |
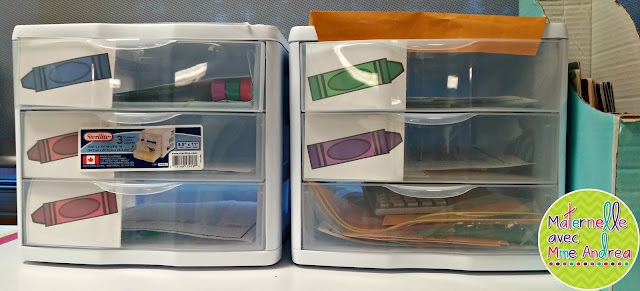
To keep all of my activities, books, and games organized for each group, I have a set of six drawers (well, two sets of three drawers.)
They are from Walmart and cost about $13 each, and are big-time worth it!
Since I use colours for each of my groups, I put a picture of their colour on each drawer.
I have 5 groups, so I have one drawer left over.
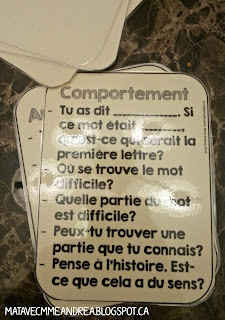
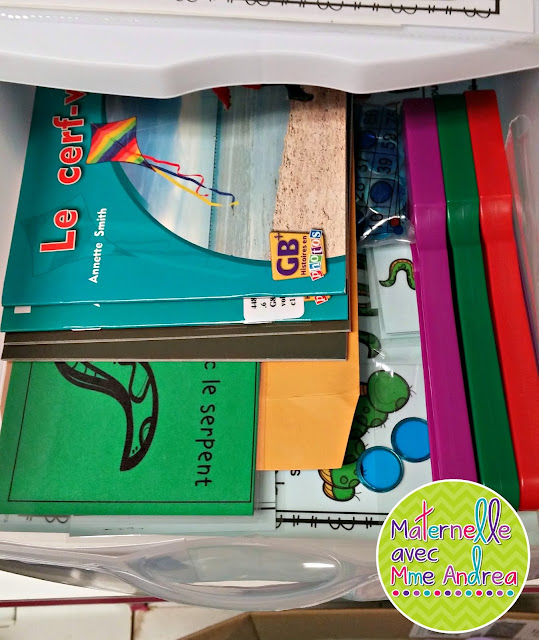
In their drawer, I put everything I need for the week – their books, games, cards, activities, strategy cards/bookmarks, fluency bookmarks, empty fiches de lecture, anything!
In the sixth drawer, I keep things that I use with multiple groups.
I use colours for my groups, but in my TPT product, I have included multiple options for grouping your kiddos :)
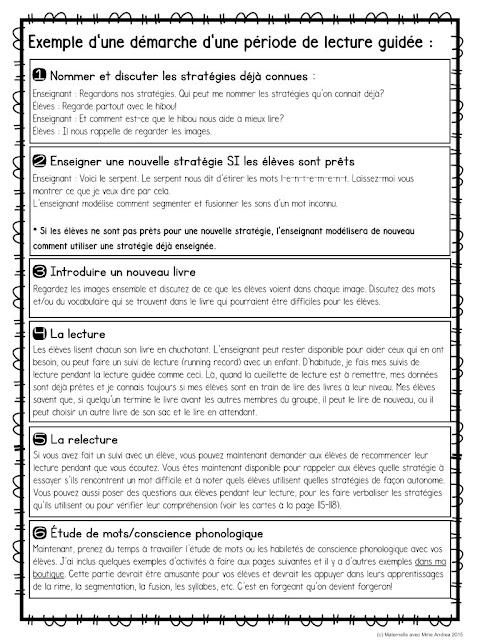
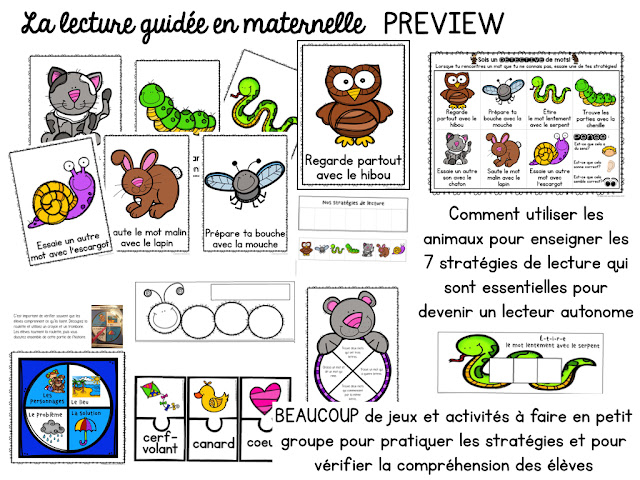
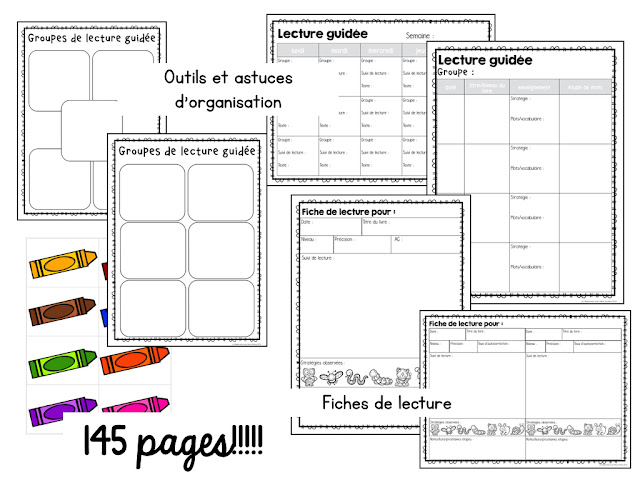
Everything that you see in this blog post can be found in my TPT product: Lecture guidée en maternelle!
This resource is specifically designed for kinders in mind, because they haven’t learned any strategies yet, but can of course be used for grade ones as well!
It comes with…
- Reading strategy posters
- Cards/bookmarks to reinforce using their newly learned strategies at home
- Tips, tricks, and ideas for how to structure your guided reading lessons, as well as questions to ask your students and things to say when they get stuck
- Comprehension activities, questions, and games
- Word work activities and games (blending, segmenting, reading words in parts, try another sound, etc.)
- Lesson plan forms and running record sheets
- Organization tips
- And MORE!
If you have any questions at all, please let me know in the comments! Happy reading!





Quel travail colossale ! C'est tellement satisfaisant terminer un gros document comme cela !
Je suis si contente!! :)
Wow!!! Merci bien! Can you explain how you begin introducing a book? Do youngest introduce the entire class and then move onto individualization in group form or do you choose books at their level. I find with my new to French 1s they are all basically at the same spot. Thanks! Can't wait to buy!
Sure! Basically, I started my whole class with an introduction to guided reading using little books I made myself (I didn't make a blog post about it, but I do have a product in my store here: https://goo.gl/Sor0jP). I did that for 2 weeks, then was able to tell pretty easily who had learned those sight words, and who understood directionality and had one-to-one correspondence. I also looked at how many letters and sight words each child knew (I had been sending home flash cards to practice all of the letters/words we had learned together and evaluated them quickly after we finished going though the alphabet). I don't have enough copies of any "real" books to give one to each student, so I pick through the books I have and try to find the best fits based on the sight words/vocabulary that they know :) Then I present the book to my group and we do a picture walk, talk about any tricky vocab/new words, and look at the predictable part of the text together. At this point, my below-level group is still at a level 0 (no one-to-one, less than 10 sight words, no directionality) and I have 4 students in it. These munchkins do not speak well, so we spend a LOT of time on vocabulary – you have to talk before you can read! I have another group of 2 that know about 10 sight words and have one-to-one, but a level 1 is still hard – again mainly due to vocabulary. Then I have 8 who are a level 1-2 so I divided them into 2 groups – one group knows 10+ sight words and one knows 20+ – these are the kids on par to where I would like them to be at this point in the year. My above-level group has 2 kids who are a solid level 3 and who know all their letters/30+ sight words and can read books without predictable text. Hope that helps!!!
I should mention that I try to give everyone in the group the same book, but you don't have to. I find it easier to do the picture walk that way, but if you are teaching a strategy, they should be able to practice it with any book at their instructional level :) I just find it way easier to give each group member the same book!
Wow quel bel article! Très informatif! Bravo!
Merci!! <3 <3