Hi guys!
Just popping in today to talk about my word wall and why I love it – and why my students do, too! Before I start, I just want to clarify that I have always had a word wall while teaching K. I think word walls are extremely important and key to your young students’ writing success. However, I used to have my word wall on a small bulletin board-sized white board in the corner. After my first two years of teaching, I knew that something had to change – my students couldn’t reach the words, they were hard to see, and there wasn’t enough room for all of the words we were learning. The only other space I had in my room that could possibly be used for a word wall thanks to fire marshall rules was my regular white board – the white board I wrote on all the time and taught from! This post is about why I decided to sacrifice my precious white board for an interactive word wall, and why I think you should, too!
Before I dive in, here is a current picture of my word wall. Before you look, just keep in mind that I didn’t straighten out my words or rearrange anything prior to taking this picture ;) #reallife!
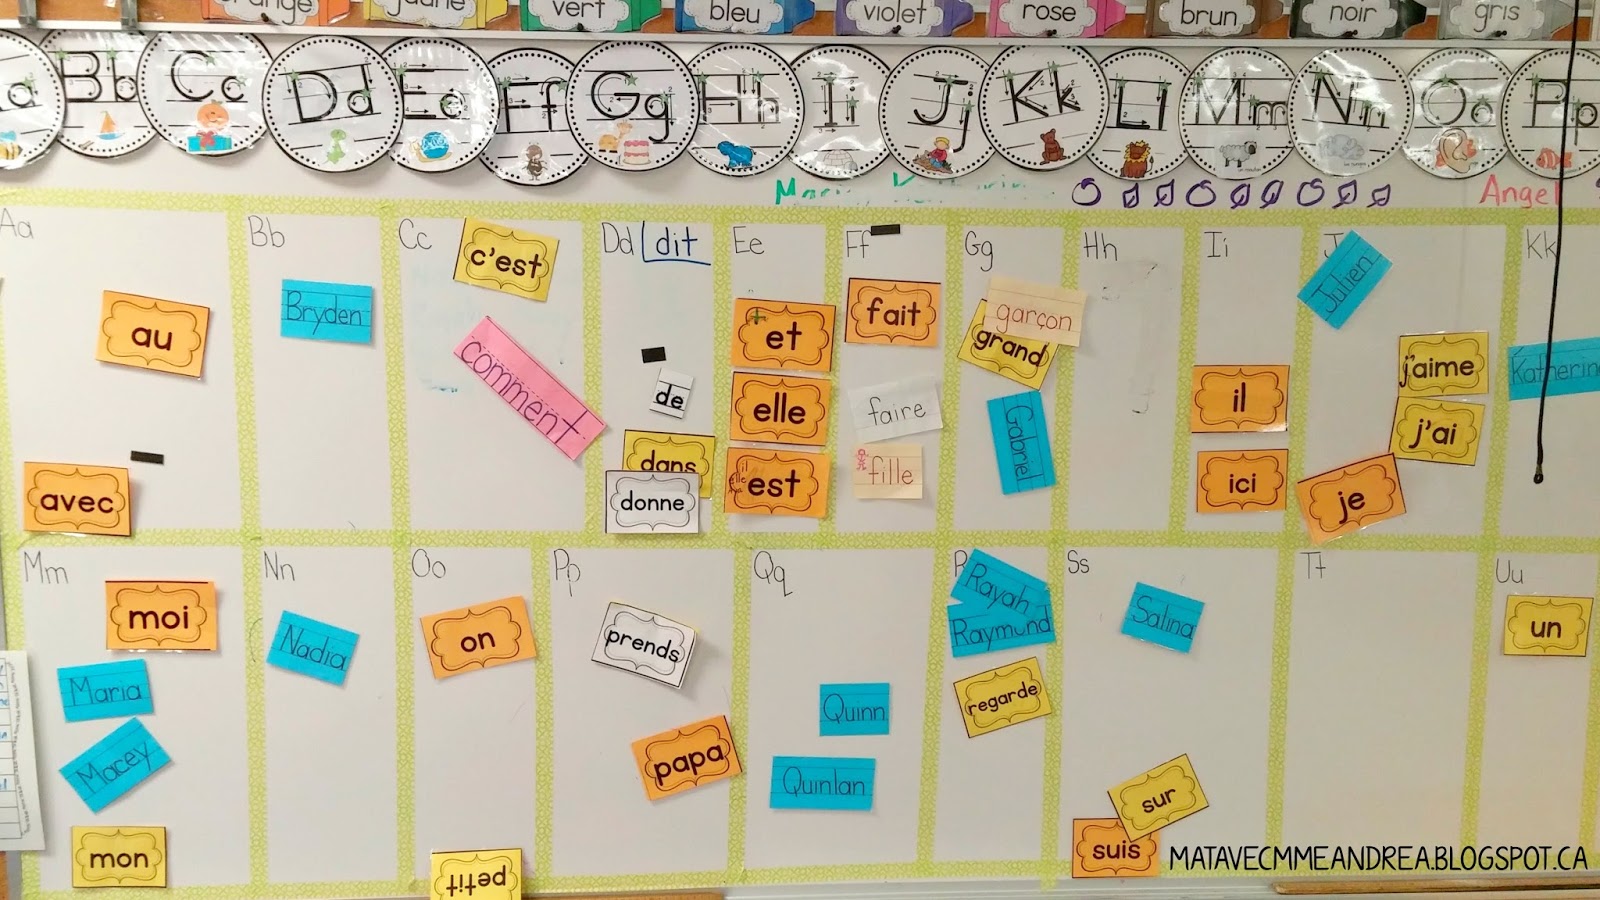
To create my word wall, I just used decorative masking tape for the boxes and black Sharpie to write the letters. I did plan out beforehand how many boxes I needed to fit on each row, and thought about how many words I planned to teach for each letter. For example, Ww & Xx and Yy & Zz each share a small box, because I have no words I plan on teaching that start with those letters. However, Aa, Ll and Mm all have big boxes and will be pretty full come June.

At the end of the school year, I will get my students to help me take down the words, the tape, and erase the Sharpie. It is SUPER easy to get off with just a little spritz of hair spray, but won’t come off during the school year (unlike Expo markers)! My first year doing this I had magnetic cards with the letter on in each box, but it was a disaster. They fell off all the time and got lost, got moved around, and were all in all a huge headache and NOT worth the cute factor. Using a Sharpie saves me a ton of time and frustration!!
My words are colour-coded(ish). Yellow/orange are sight words that we learned whole group. Blue words are my students’ names. Pink/white are words that help us with certain writing units – for example, when we worked on riddles or how-to texts. The yellow cards I bought on TPT, but from an English seller who happened to have an editable page at the end of her set. This was over 4 years ago, and I didn’t even know that there were French sellers on TPT at the time! Anyways, I find the cards a little too large and the frames encroach on the word space, and plan to make the switch to Lucy from For French Immersion‘s set over the summer. You can find the set I own here on TPT. They are editable as well, which is fantastic, because I don’t like wasting paper or ink and will probably just type all the words I teach into the editable boxes to make sure that doesn’t happen ;)
I also add other words as needed when we are working on specific units/themes. For example, here are a couple shots of part of my word wall from when we were working on Fairy Tales.
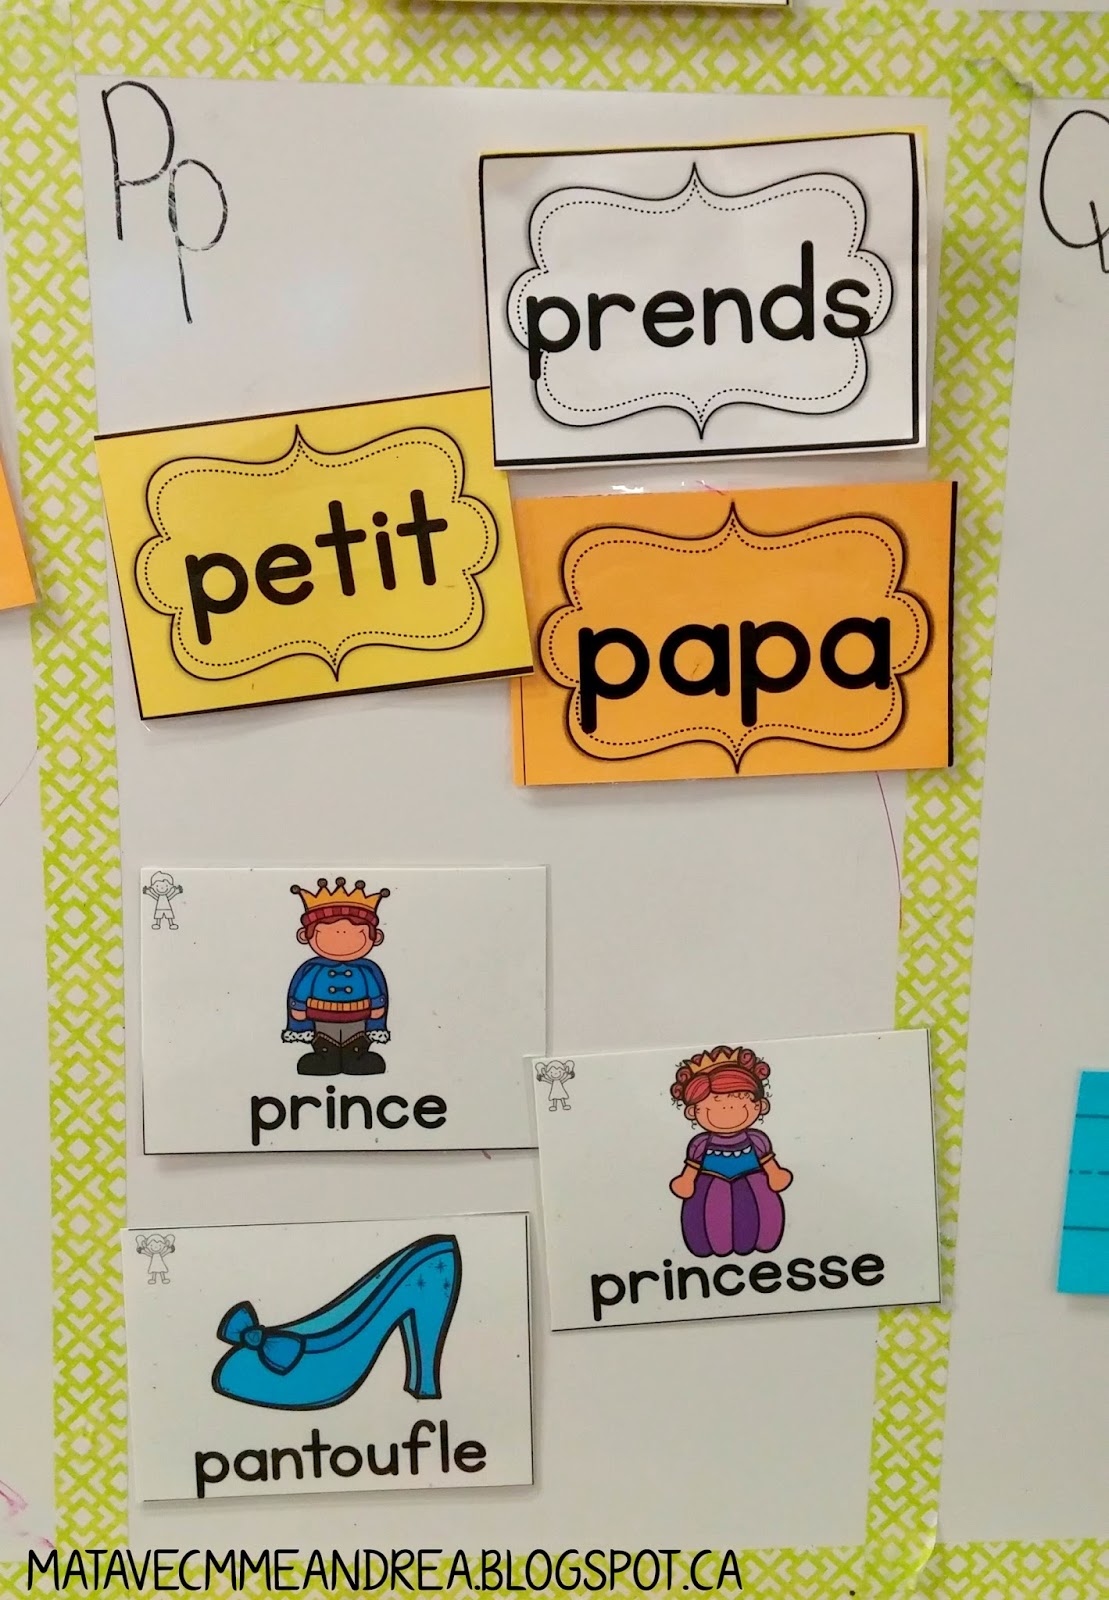
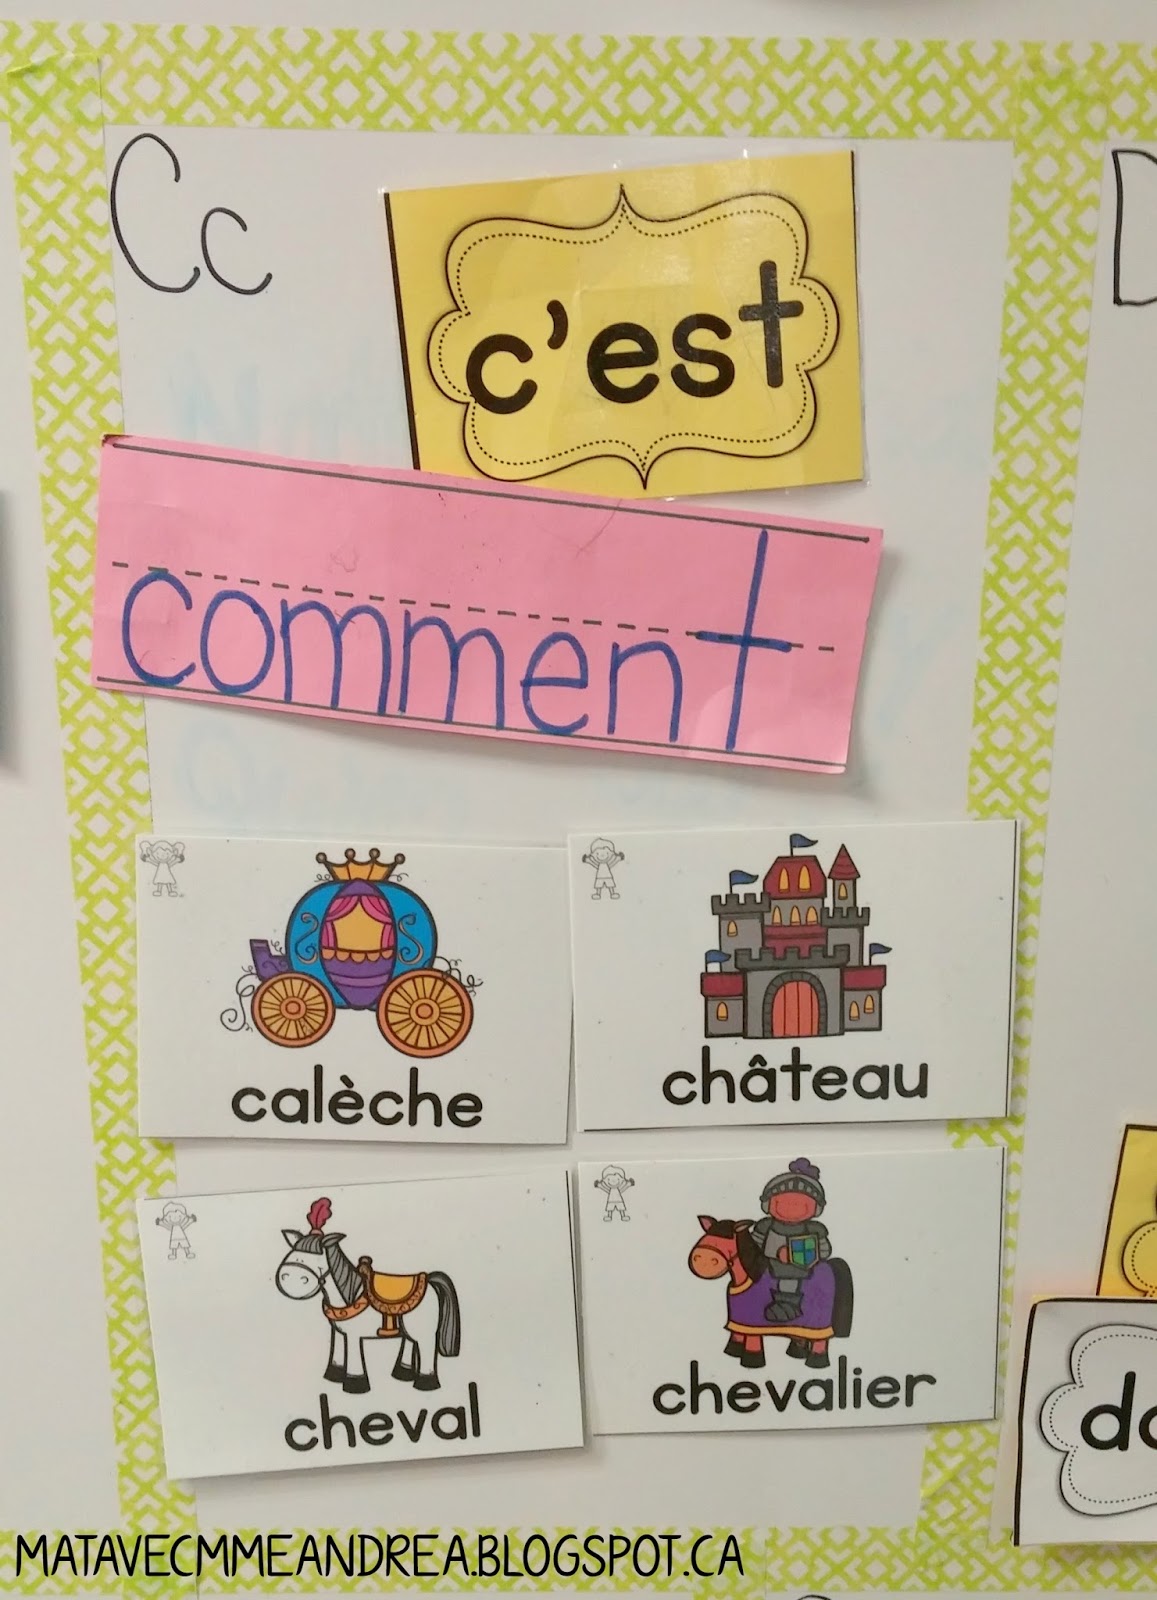
I don’t have enough room to leave those up all year, but once we are finished a unit, I move them over to my old bulletin-board size word wall space, which also happens to be where they work during their writing centre. I have a ton of thematic word wall cards in my TPT store, which are the ones that I use. I prefer to not add an article, but to show my students if the word is masculine/feminine/plural through a little symbol, and teach them how to add an article that makes sense, rather than just copying the one on the card.
Now, here are 5 reasons why I LOVE my current word wall, and why I think you should make the switch!
1. My students can easily SEE and REACH the words.

My white board is at the front of the room, as I think is probably the case in most classrooms. As you can see from the above picture, it is pretty low and designed for my students to be able to write on it, so guess what? They can also reach the words! Each word has magnetic tape on the back, so it is extremely easy for my students to locate the word they need, take it to their spot, write the word correctly, and return it. You will have to explicitly teach your students the proper way to (quickly and quietly) go find the word they need and return it in the right spot, and what to do if someone else is using the word they need, but it is big-time worth it. It is actually really difficult for students (especially in kindergarten) to look at and copy a word from the word wall onto their paper. It takes a lot of time, focus, and concentration – not exactly what kindergarteners are best known for :) Being able to physically choose and bring a sight word to their table will really help your students become more efficient writers – even though you may think that it will be a time waster for them to be walking around. Just teach those procedures and it won’t be a problem! :)
2. It encourages me to do a LOT more teaching at the carpet.
While I did leave one side of my white board word-wall free (about the size of a piece of chart paper) in case I need it, I do not miss my white board for teaching lessons AT ALL. Not having a white board has caused me to pretty much teach all of my lessons from the carpet, which has resulted in a lot more participation and engagement from my students. If I am doing a lesson where they need to be writing, I have a class set of clip boards that we use right at the carpet. I am closer to them and it is so much easier to remind them to focus if they get distracted, especially non-verbally. I can easily touch them on the shoulder or give them a little hand signal to refocus when they are on the carpet right in front of me. I spent a good chunk of time in the beginning of the year teaching carpet procedures, and my carpet lessons (almost, ha!) always go smoothly.
3. Students look to the same place for both sight words and the alphabet
My alphabet has always been found at the front of the room. Now, my sight words are too! My students can look in the same place to see which letter makes which sound or how to write that letter. My alphabet is also attached with magnetic tape, so my students can take letters to their spots when writing as well (which rarely happens now, but did happen quite a bit in the beginning of the year). I like that my students have one place where they can find all the resources they need! At this point in the year, students have their own alphabets in their writing folders and on their personal word walls, but they didn’t have those resources in the beginning of the year, so my white board alphabet was a big help.
4. We have room to learn a LOT more words
This is the almost-best part! We have so much more room for words now, that I can add all kinds! I can add thematic words no problem. I can add words that go with the genre we are working on right on the same word wall as our sight words, which I could never do in the past. Honestly, I have room for 2-3 times more words on this word wall than I did when I had it on a small bulletin-board sized space. I cannot tell you how great it is to have space for all these words!
*I only add words that we have learned and practiced whole group – it is important that the words on your word wall are words that the majority of your students know by heart*
5. My students are better, more confident writers
I have seen massive improvements in ALL of my students since having a word wall in front of the room, with words that students can physically touch and use. Please keep in mind that I DO NOT spell words for my students. If they have a word that frequently reoccurs in their stories that isn’t on our word wall and is someone’s name or full of sounds we haven’t learned yet, I will write it on their personal word walls, but I then expect them to find and use it independently each time after. Even my struggling writers are now all able to string together a sentence of words from the word wall. My strong writers use the word wall to ensure they are spelling their sight words correctly, and use the sounds they know to write new words. Since they spell their sight words correctly, I can usually understand their story by filling in the blanks haha. Their confidence in becoming writers is HUGE and a key factor in their writing success. If you aren’t convinced, take a peek at some of my students’ writing from this month. I have included samples from all ranges of abilities (I have “translated” in the captions haha, but tried to keep their sentence structure, even if incorrect).
(First, here is an example of what our personal word walls look like – they are a FREE download in my French Resource Library!
(If you aren’t a member of the library yet, just CLICK HERE, enter your info, click the pink button, and I’ll email you the password & access instructions!)
Some students have more words, some have fewer…it mainly depends on their ability to use the big word wall, and the words they request help writing. It is also a great place to add sight words that a student already knows that haven’t yet been taught whole-group!
 |
| « On va à la dentiste. On a un nouveau chose mais le électrique a pas compris. Mais on l’a fermé et on est à la dentiste. » |
 |
| C’est le dentiste. Sa a fait mal. J’ai pleuré. Le fée des dents a venir. Elle m’a laissé de l’argent. Maman était ici. Arrête de pleurer. » |
 |
| « Je suis dans mon grand maman maison. J’étais joué avec mes ami. Avec mes ami, j’ai joué avec mes voitures. » |
 |
| « Je suis au zoo avec papa et moi soeur. Ma maman arrive au zoo avec Charlize et Charlize a vu un tigre. Elle a peur de la tigre et un serpent qui… » (pas encore terminé) |
 |
| « Je suis avec Lily. » |
 |
| « Moi et mon chien sont à la maison et on est dans ma chambre! » |
 |
| C’est moi et Jesse. |
 |
| « Le zombie tombe sur le maison » |
The above were all completed 100% independently by my students. The only words I provided in the above examples were « fée des dents » and « chien », which were both on those students’ personal word walls. You can read more about our writing routine here, but I expect my students to work quietly and independently during writing time, so that I can work one-on-one or in small groups on specific skills with specific students. Can you tell that we will be working on punctuation big time between now and the end of the year?? ;)
The following example is from a below-level student. She knows almost no French, but she LOVES cats! :) We worked together on this piece – Miaou and Ellie are on her personal word wall, and I helped her find « dit » on the big word wall. Through showing her how to find these words one-on-one, in the future she will eventually be able to do it herself.
 |
| « Miaou dit Ellie » |
The writing paper that we use is another free download from my free resource library. We started out with blank paper, then added a few lines, then more lines, and we “graduated” to this paper a few weeks ago.
I hope that this post has inspired you to take a look at your word wall and think more about how you can make it interactive for your students! There are lots of other great examples of word walls on Pinterest if using magnets and your white board is not an option for you, such as velcro or binder rings. The most important thing is to treat your students like they are already writers and to show them that they ARE already writers – this will help inspire them to keep writing and to try new things! :)
If you are interested in adding thematic word wall cards to your word wall, please feel free to check out the many sets in my store. I have also bundled them, if you love them and love saving money – see it HERE. Each set has cards in both colour and black & white, so you can save on ink if you prefer, or even turn the black & white cards into mini personal dictionaries for your students. I have even taken them and printed multiple pages on one page (if that makes sense?!) so that all words were on one page double sided to created a reference for centres or to add in their writing folders during a specific unit. The possibilities are endless! Here are a couple of photos of what the cards in some of my most popular sets look like:


Looking for more writing tips? Fill out your name & email in the box below, and I’ll email you my FREE guide to writer’s workshop for French primary teachers!