Do you teach handwriting and proper letter formation to your kindergarten students?
Kindergarteners need LOTS of practice correctly forming their letters! It may not seem like a big deal if your students start at the top or start at the bottom or form their letters exactly right, but… it is!
Read on to find out why I think handwriting is so important to teach and practice, and how I do it in my classroom.

So, why is it that we want our students to form their letters correctly? Why does it matter if they start at the top or start at the bottom or somewhere in between? Well, the answer is actually pretty simple. There is a right way and a wrong way to print your letters, and the reason it is so important to me to teach my students the right way has to do with both efficiency and neatness.
First – efficiency.
Our students are emerging writers. They are doing everything they can and stretching their little brains to the limit just to get their ideas down on paper. They are already thinking about what their story is, what sounds they have already written, what sounds they need to write, where to find a sight word on the word wall, where they are supposed to put spaces, when they are supposed to add punctuation, etc. None of this is natural and automatic for them yet. The last thing we want is for them to get so caught up in thinking about how to write an “s” that they forget what they are trying to write all together!
We want their printing to be automatic and efficient. If your students know how to write all their letters properly without having to think about it or look at a model, then their brains have more time and space to think about what is really important – their ideas! When a student is sounding out how to write a word, they need to get those sounds down as fast as possible, before they forget what they are trying to say! We also don’t want it to take an hour or so to write one word or sentence. We want our kiddos to get their ideas on paper ASAP!
Second – neatness. I always am asking my students “why do we write?”, and one big reason for writing is sharing. We want to share our stories with others, just like our favourite authors share their stories with us. And it is going to be a lot harder for someone else to read our stories if our writing is illegible. By teaching your students to correctly and carefully form their letters, and giving them time to practice, you will be helping their little finger muscles and fine motor skills develop, and their printing will become neater and easier for everyone (including you!) to read.
So, how does one teach students correct letter formation?
Well, honestly, there are TONS of creative, engaging, exciting, and awesome ways to do it. Salt trays, zip lock baggies full of paint, glitter, all kinds of stuff. A quick Pinterest search will bring up some fabulously creative ways.
However… those ways aren’t the ways that I do it. And this is not a post about those ways.
I love my students and I love engagement, but honestly… my students get excited and engaged with plain old tracing sheets. For real! They get excited about every letter and if we skip a day for another activity, I hear about it. There are a few reasons I have chosen to teach letter formation using tracing sheets, and they are very simple. First of all, time. I often don’t have time to prepare salt trays, zip lock baggies of paint, etc. – I have enough other things to plan and prep! We do handwriting for about 5 mins a day… I do not generally do activities that require more prep time than time spent actually doing the activity.
Also, by doing tracing sheets, I can see and correct as necessary every student at the same time. I will explain how below, but suffice it to say, I LOVE efficiency. If I can do something that has every student engaged in the same task all at once, and I am able to see them all and correct as needed, and every student has practiced in the same 5 minutes and then we can move on to something else, well… those are the kinds of activities I like. Cute or not!
So, how do I do it?
Whole-group, at the carpet.
I use these tracing sheets, which are relatively new to my TPT store. I like them because I find the letters are just the right size – not too big, and not too small. There is lots of opportunity to practice each letter, and the entire page is all about the target letter. I prefer to not have words that start with the same sound at the bottom of the page. I teach phonics at a different time via other activities. For me, these 5-10 mins are all about handwriting. So, if I put the word “avion” to trace at the bottom of the Aa page, but my students have only learned how to correctly form the letter Aa… what’s the point of getting them to trace the word avion?
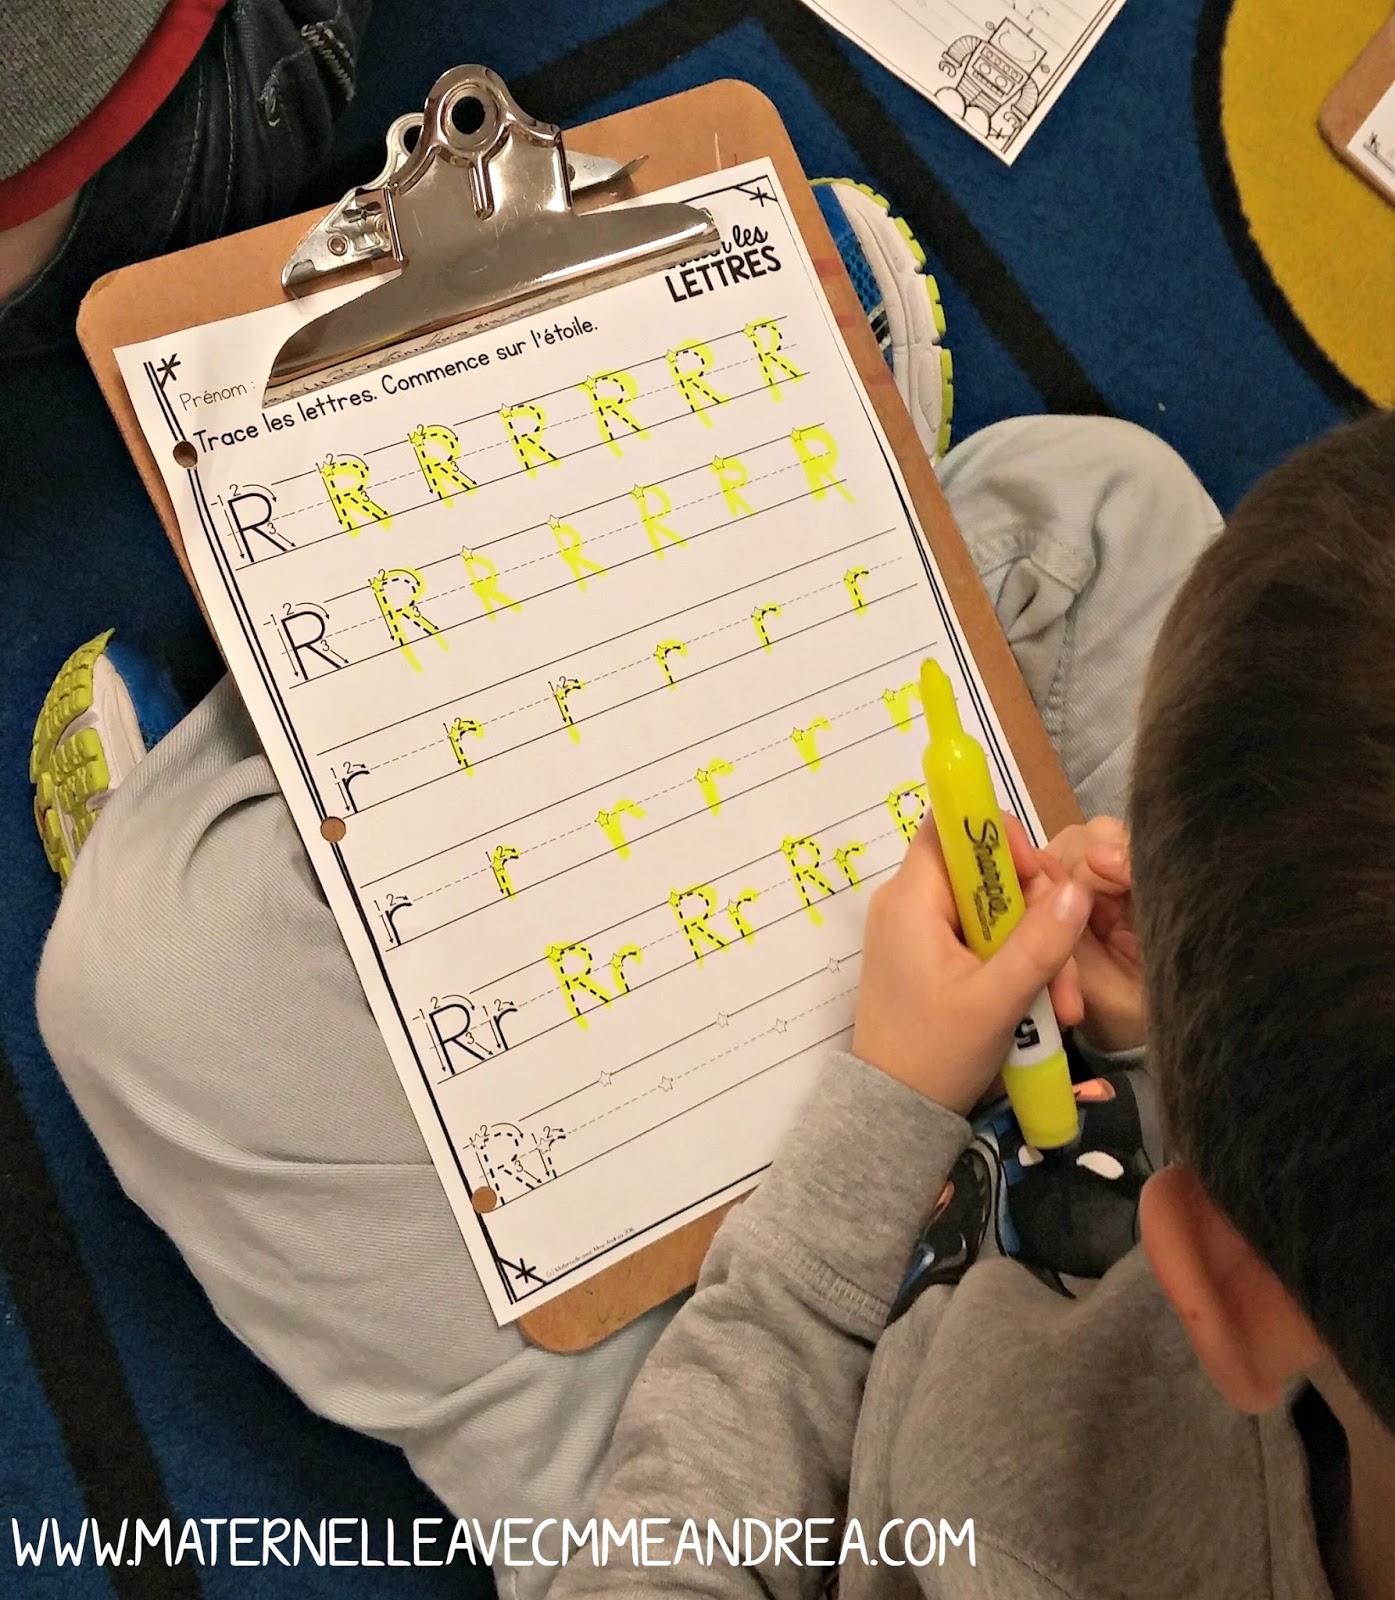
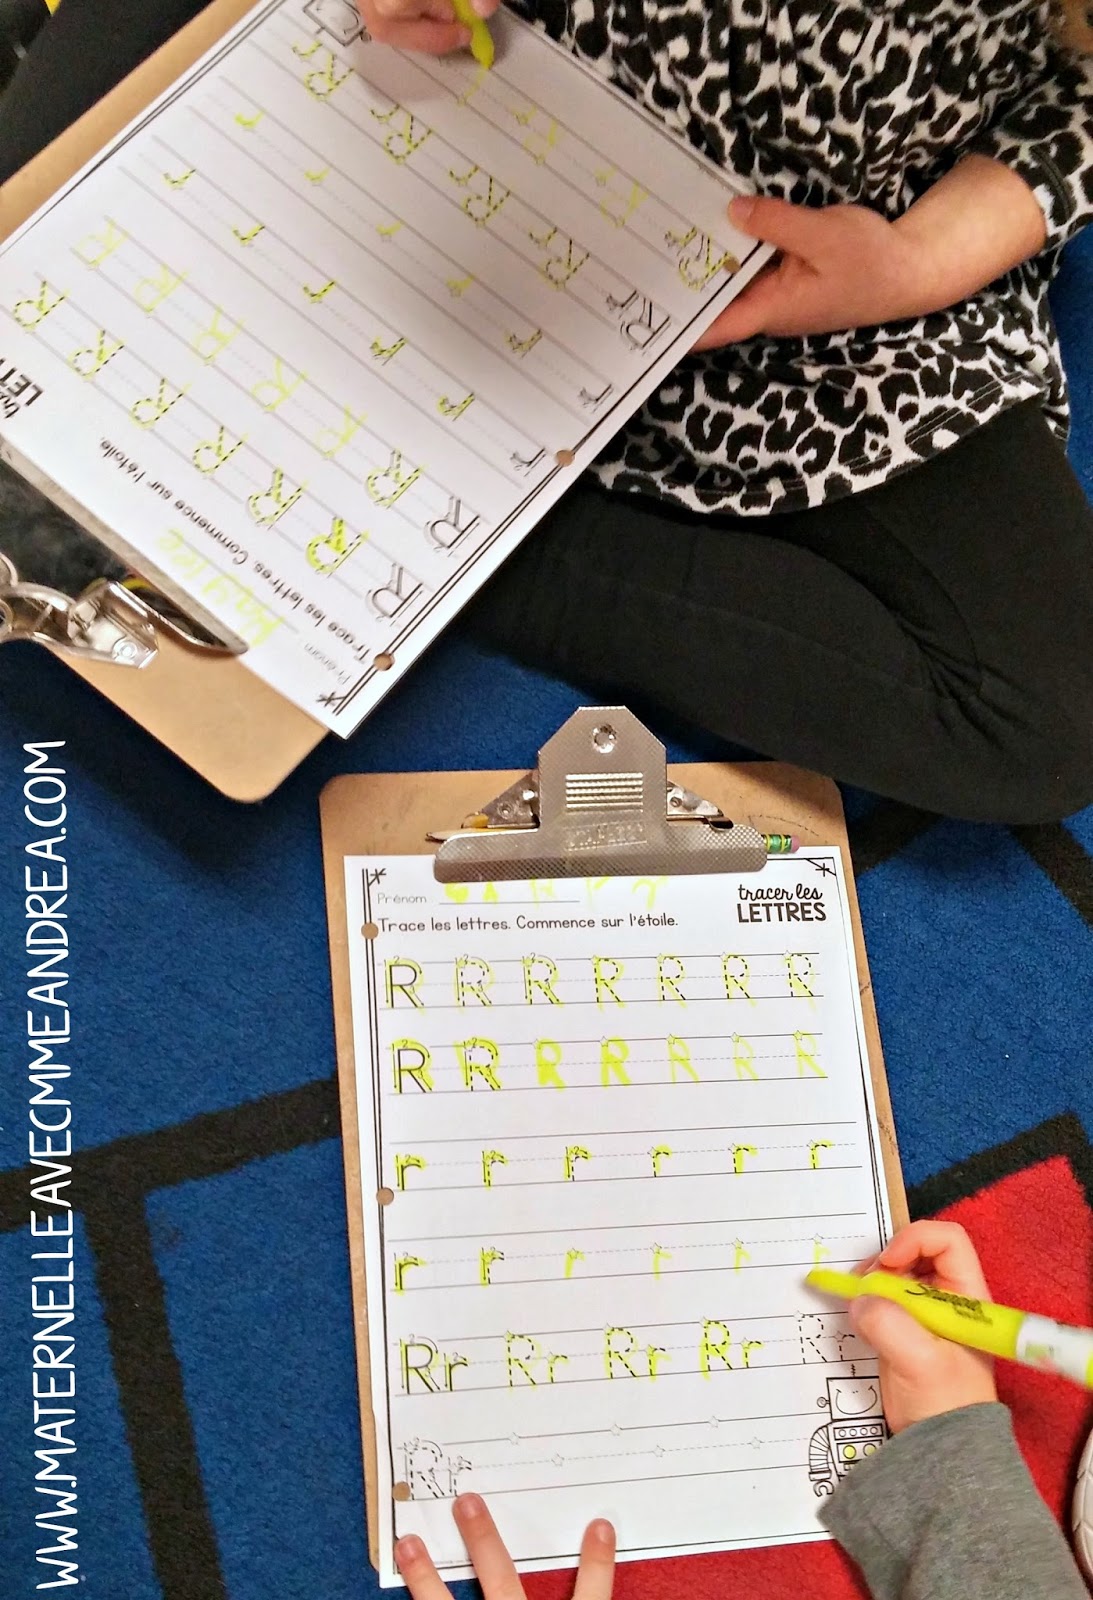
We also practice upper- and lowercase at the same time. I want my students to learn how to write both, and to see the link between the two – they are the same letter. I also put a star to show students where they must put their pencil to start writing the letter.
First, I pump my students up a bit about the letter we are working on that day. I say something like:
“Oh my gosh you guys, today we are learning how to write R. You have GOT to know how to write R! If you want to invite Rayah or Raymond or Rosalyn to your birthday party, you need to know how to do an uppercase R. And Marissa has a lowercase r, and Weir, and Saryn does, too! We have GOT to learn how to write this letter properly!”
Then, when we are ready to start, I ask my students to go grab a clip board and their *gasp* highlighter. Yes, I let them trace in highlighter… and I think that may be part of the reason they get so excited for tracing sheets, haha. It is the only thing really that we use them for. Our clip boards are housed all together in a bin, and each student has a numbered box where their highlighters live (among other supplies). They come back to the carpet, sit in their squares, I pass them a sheet, and they write their names… but that is the only thing they are allowed to write. I usually do a countdown from five, and when I get to zero, all eyes must be one me.
To get my students to look at me and not fiddle with their highlighters, I get them to look at me with “eyes like an owl.” I also get them to do the “unicorn” (hold their closed highlighter against their forehead like a unicorn horn… whatever works, right?!) while I show them on chart paper how to form the uppercase letter of the day. Then they practice – but they are only allowed to do the first row. When they finish the row, they do the unicorn again, to show me they are finished. I look around and make sure that each student is forming their letters correctly, and is starting at the star.
Once the vast majority are finished the first row, I show them how to write the letter without tracing it, so that they can do the second row. I remind them to start at the star, and count out the number of steps. I tell them if they do or do not need to lift up their highlighter off the page to do the next part. Then they practice on the second row, and do the unicorn when they are done.
Then, we move on to the lowercase. Again, I show them how to trace it properly, they do that row, they do the unicorn to show me when they are finished. Then I show them how to do the lowercase all on their own, reminding them of any little tricks or tips (the tail has to go UNDER the line!). Once we have practiced the lowercase both times, they are allowed to finish the last two rows on their own.
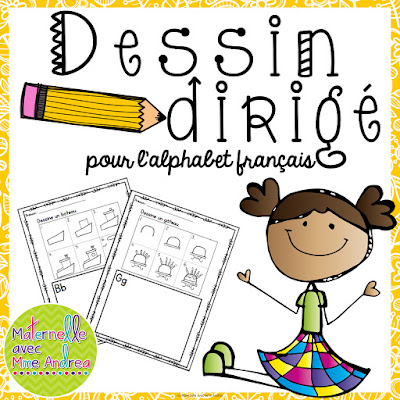
On the backside of our sheets, I put the Dessin dirigé sheet for the same letter. They LOVE drawing and get excited to learn to draw something new each day. So, once they finish the front side of the sheet, they put away their highlighter and grab a pencil. I do another countdown from five and show them the drawing step by step.
Once they are all done, they put their sheets away in their orange duo-tang, clean up their stuff, and we move on to the next activity!

I find doing our letters in this way works really well for a few reasons.
– It’s quick! It seriously takes no longer than 10 minutes. Usually about 8 with the directed drawing as well. No one wastes their time because they know I will be moving on… and, I am watching them!
– Early finishers are pretty much non-existent. They are only allowed to do one row at a time, and then they have to wait… but the wait is never long. No one gets too far ahead or too far behind. This encourages them to take their time and do it right. I tell them that it’s not a race and I don’t care if they do it quickly as much as if they do it neatly ;)
– I can see everyone! I can make sure that each child is forming their letters correctly, starting in the sky, putting their tails under the line, etc. If they make a mistake, it’s no big deal – that’s what I put so many stars and spaces for practicing!

If you are looking for tracing sheets or directed drawing sheets, just click on the below images to see them in my TPT store.

Do you teach your students letter formation? I would love to hear how you do it! Please let me know in the comments if you have any other great ideas for teaching this important skill. :)