
If you’re a teacher, I am CERTAIN what I’m about to say is something you already know from first-hand experience, but teachers don’t receive a lot of (any?) money to help outfit their classroom.
I had to start my teaching career with recycled alphabet posters – none of which matched!
My students were probably so confused because in one area of the classroom, D was for dragon, in another, D was for dauphin, and for their writing folder linking charts, D was for dinosaure!
But I didn’t have much choice – I didn’t have the money to buy three copies of everything, or the time to make three versions of the same alphabet myself.
I’ve gotten a bit smarter and a bit more resourceful over the years, so today I want to share a little tip for you that has worked really well for me and my students.
We need to create/purchase sooo many resources for our classrooms, so today I will share a way to “double dip” and re-purpose any digital posters that you buy on TPT!

*Before I get started, I want to take a second to remind you that pretty much anything you purchase on TPT is for ONE classroom only. You can check it out for sure on each individual product’s Terms of Use page, but that’s the default. If you want to share a resource with a colleague, you can purchase another license at a reduced rate on your purchases page. This is a tutorial for how to repurpose one purchase for your OWN classroom, not for someone else’s! Thanks so much for respecting our time :)
Also, some of you may print your resources at Staples. If you do, I’m not sure if this will work for you.
And, I have a Mac – you may need to adjust a bit if you are using a PC.
(For more info on how I print so much at home without breaking the bank, check out this blog post)
If you are an at-home printer with a Mac like me, give this a shot!

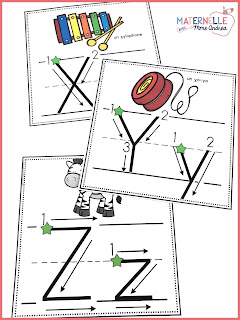
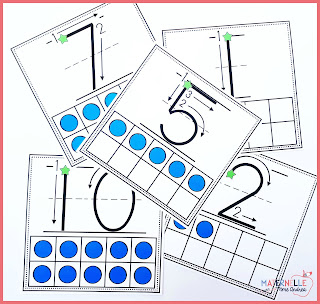
1. Choose your resource and decide what you want to make (I use alphabet and number posters to create alphabet linking charts for each student and number lines for my tables).
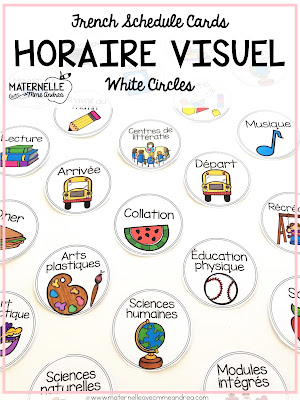
You could also use sounds posters, colour words, visual schedule posters for mini-schedules, or make mini dictionaries from thematic word wall cards.
In this tutorial, I will show you how I make my alphabet linking charts.

2. Download the resource, and be sure to open it in ADOBE. Not preview!!!

If you open in Preview, it won’t work. If the resource is “editable” and is in Powerpoint, you will need to make your changes, export it as a pdf using the “File” menu, and then open it in Adobe.
NOT Preview!!!!
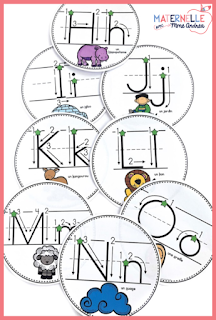
*In my classroom, I use the square alphabet posters, but I wanted to switch it up for our linking chart this year, so I used the circle set to make my référentiels. Use whichever one you have – no need to purchase another!

3. You will need to take note of which pages you want to print before you go to the Print menu.
You won’t want to print the cover pages, credit/Terms of Use pages, or teacher instructions.
I just jot down the page range(s) I need on a sticky note. In this alphabet poster set, the posters run from pages 5-30.
Be careful, too, that there aren’t any duplicates/options!
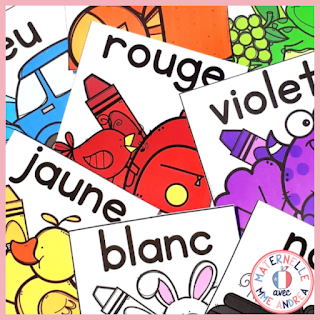
For example, in my rectangle alphabet poster set, I have both red and blue background options – you wouldn’t want to include both colours on the référentiel.

4. Go File —> Print and type the page range into the “Pages” box.
You can check to make sure you are printing only/all of the pages you will need by clicking the little arrows and looking through the preview in the bottom right-hand corner.


5. Then, you will want to click the button that says “Multiple”.
You will need to decide how many slides you want to print per page – you can pretty much do whatever you like, by either picking a suggested option or typing in your own after clicking “Custom” from the dropdown menu.
But remember, if you pick too many, the pictures will be super tiny!

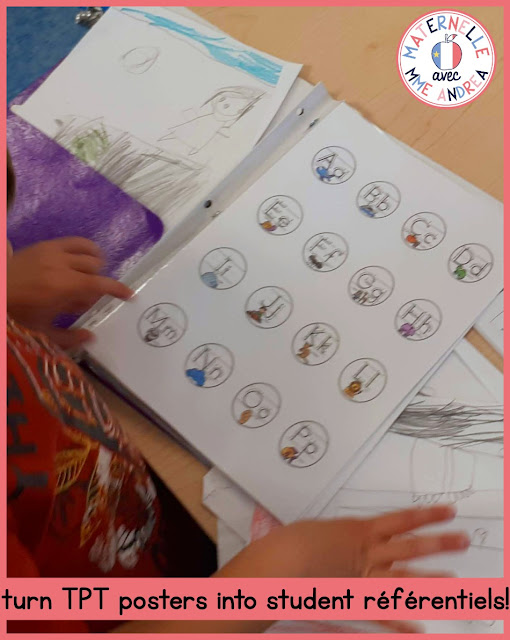
For my alphabet linking charts, I do 16 per page. I print two pages per student (Aa-Pp and Qq-Zz) and slide them back-to-back into a page protector, which I then place in each writing folder.

6. Type in how many copies you need, and click “Print”.
I would suggest starting with one test copy first!
You can choose to print in colour or in greyscale, if you need to save on colour ink.
You could also adjust your settings to print back-to-back if you wanted, but I don’t like to do that because I find the paper is too transparent and the ink bleeds through and looks messy.
Here is a peek at a student using their alphabet linking chart:
That’s it!
A little tip to making one resource go a bit farther.
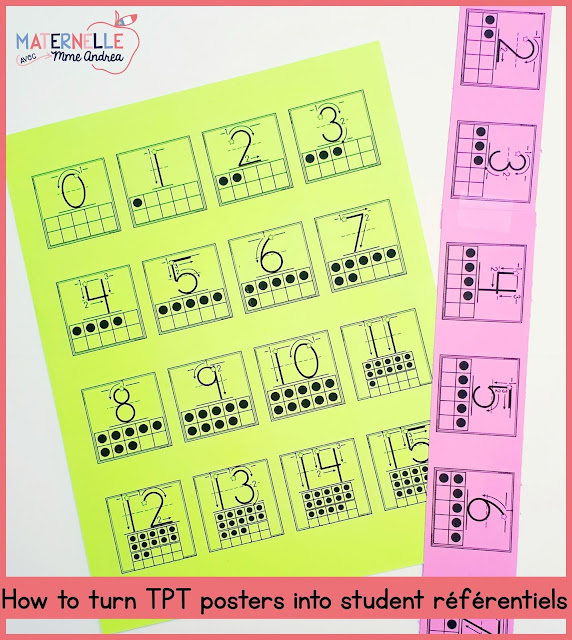
When I make number lines, I do them the exact same way, except I print them horizontally, cut them into strips, and tape the strips together to make one long line.
I print my alphabet linking charts in colour on white paper, but I print my number lines in back and white on coloured card stock paper.
(Side note – if you want to print something BIGGER, you can easily do that too, by using the “Poster” button instead of the “Multiple” button. You can scale your image up, and it will print over multiple pieces of paper, which you can then tape together. Pretty cool!)
If you’re interested in any of my classroom poster sets, here is what I currently have:
Alphabet posters (squares)
Alphabet posters (circles)
Alphabet posters (rectangles)

Number posters (squares)
Colour posters (squares)
Visual schedule posters (circles)
You can also get a sample of my colour posters for FREE in my French Resource Library.
If you aren’t a member of my Free French Resource Library yet, joining is super easy!! Enter your info into the boxes below and click the pink button.
I’ll send you an email right away with the password, and you’ll be able to download your posters.