I LOVE TpT (obviously), and I LOVE buying resources from there and supporting fellow teachers.
But, sometimes, I buy something, and I think I know what I’m doing with that resource, and then I stumble across a blog post or a social media post from the actual teacher-author and realize that I’ve been totally off base, and they are using it in a WAY better way.
Sometimes, when we create resources, we think that the best way to use them is super obvious.
But, of course, it’s really only super obvious to the person who created it, haha!
Have you ever experienced that?
Since I started Club du primaire, my membership for French primary teachers, I’ve had this happen a few times.
I post a video training on one of my resources, and everyone goes “Oh my gosh, I NEVER thought of using it like that!”
OOPS!
One such resource is my Phrases fantastiques resource (Not sure what I’m talking about? I posted about them last week – click here to read!)
Since that resource is such a big seller, and it can help your students is SO MANY ways, I want to be sure that everyone is getting their money’s worth and using it to its full potential!
So, today, I will be sharing with you my EXACT Phrases fantastiques routine, start to finish.
Let’s dive in!
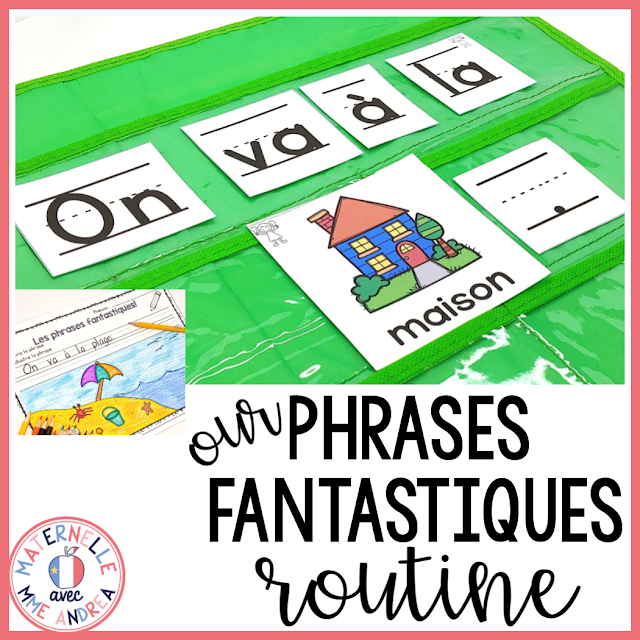
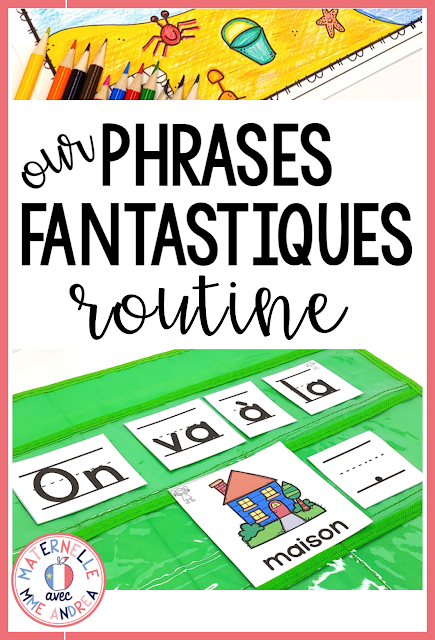
Here is a peek at our Phrases fantastiques routine:
First of all, choose a theme and a model sentence to work on
Each Phrases fantastiques resource contains at least 5 model sentences, but I do NOT work on all the model sentences all at the same time.
That would be crazy overwhelming for my maternelles!
The first time we start a new theme, I choose ONE model sentence from the pack to work on. So, for example, yesterday we started with “Je mets mon ________”, from the winter pack.
I just choose one at a time to help them be more successful. My students hadn’t yet seen the words “je” or “mets” as a group before, so it would be a lot to also through “ma” and “mes” into the mix.
After a day or two with that first sentence, I will add the model sentences with “ma” and “mes” as well… but we will not also be working on the other sentences from the pack while we are focusing on this particular structure.
There are a few choices for model sentences in each set. Be sure to start with ones where your students can be successful right away, and save the “trickier” ones for later, once they are more familiar with the routine.
Once You’ve Got Your Model Sentence Picked Out…
Set up your pocket chart!
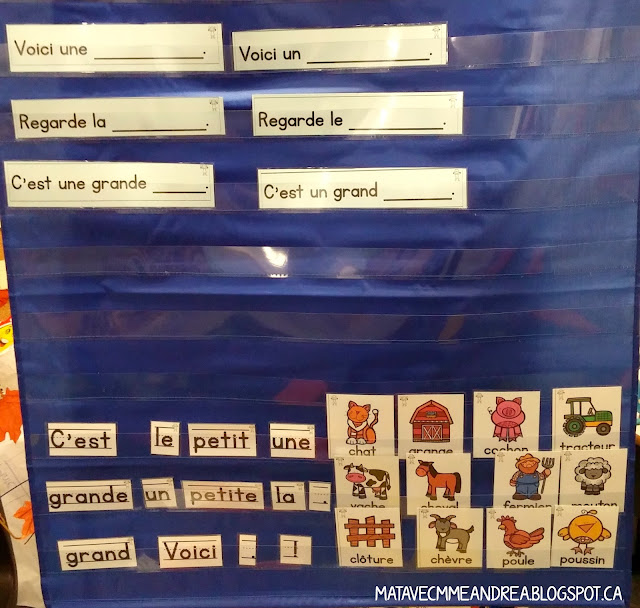
To start, I put the model sentence at the top of the pocket chart.
Under, I leave a space for us to build our sentence.
Then, I place the sight words (in mixed-up order). Under those, I place all the vocabulary words that work.
So, for “Je mets mon _______”, I ONLY put vocabulary words that are masculin and singular. The other cards won’t fit into the sentence yet, and those are enough new words to practice for now!
My pocket chart is always on display (my lovely husband built me *this pocket chart stand* for my birthday a couple years ago), so it’s ready to go when my students get to the tapis.
As we learn more and more model sentences, I add them to the top as options, as shown in the picture below:
To Get Started With My Students…
I read the model sentence for that day. I ask my students to say it back a few times. We also quickly review the thematic vocabulary words – it’s really important that they can say as many as possible if I want them to be successful.
Then, I ask them what just the first word is in the target sentence. I ask a student to find it, and place it on the left side of the pocket chart, in the space that we have for building our sentence
Then, I ask them for the second word, we find it, etc. If they are restless, I will sometimes place the words myself. I will just point to each sight word, one at a time, until they tell me that yes, that’s the right one!
When it comes to adding a vocabulary word, I always choose a few myself to start. I might start with some easy ones, to build confidence in my kiddos, and help them have more brainpower to focus on their new sight words. I also add the punctuation at the end (a period, a question mark, or an exclamation mark).
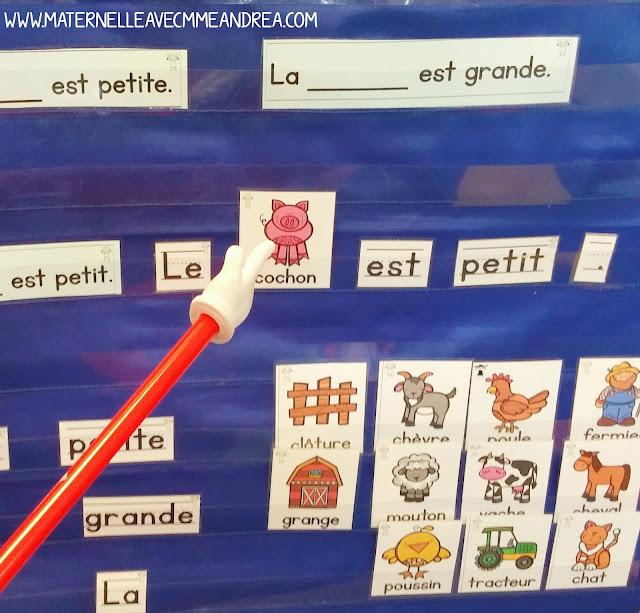
I get a few students to come up and read the sentence, using a « bâton magique » to point to each word as they read them. Then, I will switch something up. Sometimes just the vocabulary word, sometimes the article as well. And, sometimes, I will switch out the punctuation, if I’m really trying to be tricky!
I always tell them that I *know* I can trick them this time, and they get really excited to prove me wrong!
What About the Tricky Vocabulary Words?
For the trickier vocabulary words that my students aren’t all familiar with yet, I might ask stronger students with a knack for vocabulary to come up and read those ones first, and then get any students who might struggle to repeat the same one.
I want everyone to be successful, and our students improve quickly when they feel confident. Even my students who know barely any French are usually able to repeat if I chose them to come up closer to the end.
Another trick I do if no one seems to know the word is to “accidentally” let the word slip. My students are always eagerly listening for me to slip up like that!
If I put I tricky word, I will say something like: « Je sais que PERSONNE ne va savoir le mot cache-oreilles! »… and then, of course, they all know it as they have just heard me say it! Everyone starts piping up « je sais, c’est cache-oreilles! »… and little do they know, but that extra repetition is helping cement that new word into their little brains ;)
After a few switches, I ask my chef du jour to come up and make the final switch. They put a new vocabulary card of their choice, and a punctuation mark.
We don’t get to every vocabulary card each day – that’s fine! The sentence that the chef du jour builds is the sentence that we will write together. They also get to ask a friend to come read their sentence.
Writing the Sentence
To facilitate this, everyone goes and gets a clipboard and a pencil. While they are doing that, I make it “snow” by basically dropping the recording sheets (included with each theme) onto their carpet squares. This is faster than having a student hand them out, and also we practice saying « IL neige » instead of saying « ÇA neige », aka one of my biggest pet peeves, ha!
Students come back to the tapis with their supplies, clip their paper on, and write their names. That’s IT. Once they write their name, they do unicorn or narwhal with their pencil on their head. That’s how I know they are ready!
One word at a time, one letter at a time, we write the sentence. I ask my students where I start (here? here?), and what the first letter of the first word is.
I remind them that it’s a lettre majuscule, and we always start at the top. We write each letter one by one, until that word is done. Then I ask them what comes next.
A space comes next!
I show them how to do a finger space. Then we continue. We write the whole sentence, left to right.
If I run out of room on my line, I ask them to tell me what to do. We all write differently, so we don’t all run out of room at the same time, but we do our best to remember where to go when we do run out.
At the end of the sentence, I ask them how we know that the sentence is finished – what do we need to put? A punctuation mark! We add it.
Finally, we draw a picture to match. I usually try to incorporate someone in the class, but also have it make sense for the sentence we are working on.
So if our sentence is « J’aime le cadeau », I might draw me, with a present, and a lot of hearts to show that I like it.
If we were doing « Le cadeau est grand », I might draw a tiny version of a student in my class and then a huge present beside them.
I explain how adding the student makes it really clear for my reader just how big the present is! Even if they don’t know how to read, they could probably guess what I’m trying to tell them!
Finishing Up
If students want to finish up their pictures during some of the dance time, that’s fine – they may also choose to quickly colour them then. They know that after the dance is over, we will be moving on to something else, so they are pretty quick. Papers must be put away by the time the song is over.
We do this activity first thing in the morning, after our first few minutes of « communication orale ». To extend our « communication orale » block a bit into this activity, I should mention that I do like to get them to do a turn and talk sometimes, where they will say a few versions of the sentences we build to a partner.
This is sprinkled in between getting a student to come up and read it with the bâton.
So, if I had Jayden come up and read a sentence and he read it correctly and clearly, I might say « wow! Incroyable! Tout le monde, tourne et dis à ton partenaire ce que Jayden vient de lire! » and they would turn and repeat what he had read.
Just a little extra practice to get EVERYONE saying the sentence structure + new vocabulary word correctly, and keep them engaged and listening actively!
What About the Mini-books?
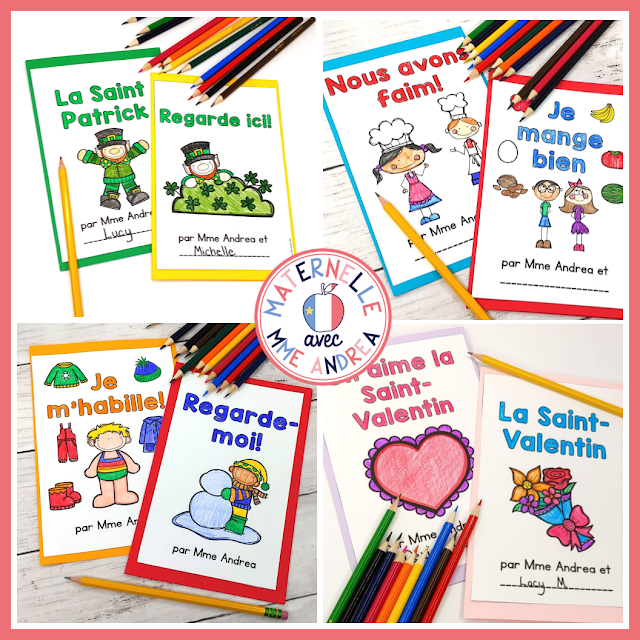
But, in my class, we don’t do the mini-books together at this time – they aren’t part of my “whole group” routine at all, actually. But, if you’re curious about how & when I use them, you can read all about it in *this blog post*!
More Blog Posts About Phrases fantastiques
- What Are Phrases fantastiques, and Why Should You Give Them a Try?
- Tips for Guided Reading With Students Who Have Limited French
- Pocket Chart Sentences
- How to Use Your Pocket Chart as a Literacy Centre
Looking for more writing tips? Fill out your name & email in the box below, and I’ll email you my FREE guide to writer’s workshop for French primary teachers!

