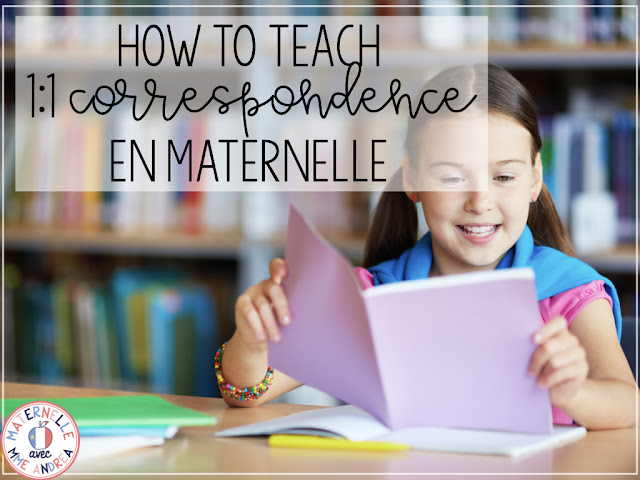
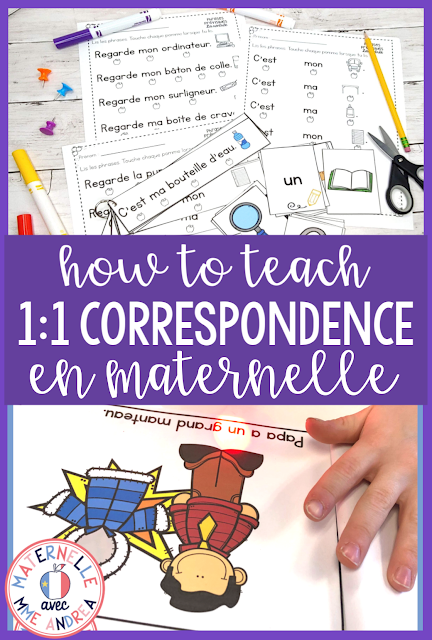
I’ve said it before, and I’ll say it again – one of the BEST things about maternelle is teaching our students to read.
It’s amazing to watch them go from saying “but I don’t know HOW to read!” to understanding that there is more than one way to read a book, and they actually CAN read.
I don’t know about you, but when we first start reading, my students often think that they will impress me if they memorize their book and speed their way through it… often while looking at me, or out the window… or even with their eyes closed!
It can take them a lot of convincing to persuade them that I am actually MORE impressed when they slow down, look at each word, and keep their eyes OPEN.
1:1 correspondence can be a tricky skill for our maternelle students to master.
Over the years, I’ve added some tricks to my teacher toolbelt and created some resources to help my students become more successful in understanding that when we read, each word we say should match up to a word that’s written on the page.
Read on to find out what they are!
(Side note: 1:1 correspondence is SO important to explicitly teach and practice, especially in maternelle, when our students don’t have many reading behaviours yet. If you want to read more about why it’s so important, and how it differs from fluidité, feel free to check out THIS BLOG POST.)
What Is a Word?
The first thing that we will need to get our students to focus on is keeping their eyes on the page that they are reading – ideally, on the words themselves!
Before we get them to start thinking about that, it’s important to make sure that your students understand what a word IS.
Often, in maternelle, students will think that a syllable is a word. So, if they read the word « regarde », for example, they might think it is two words: « re » and « garde ». If they are using their finger to track, the might move their finger to the next word too quickly, and “run out” of words before they get to the end of the sentence.
To help them understand what a word is, you can have your students practice counting them.
First, practice orally, and start small!
Say short sentences, like « Madame joue. » and then build: « Madame joue dehors », « Madame joue avec une balle » etc., and have your students count how many words you said.
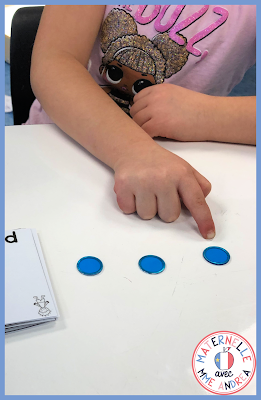
You can start by giving each student a pile of jetons, and having them slide one jeton forward for each word in the sentence. Then, they can count the jetons at the end to know how many words you said.
Ask them to then remove words from the sentence, and tell you which words are left, and/or have them add or swap out words to change their sentence.
For example, if you said « Madame joue » and each student slides two jetons forward, repeat the sentence, pointing to each of their jetons when you say each word, and then remove one (eg. « joue »).
Which word is left?
« Madame »!
Or, what if you remove the word Madame and put the word « Jack » instead? Then what would the sentence be?
« Jack joue. »!
Practice, practice, practice until all your students are able to do this successfully.
Also, during shared reading, show your students how words have spaces between them. Have them count the number of words on the page, and show them how to make sure you’ve said/read the correct amount of words.
And, always talk about words during your writing block as well! I love giving examples of how to read my story as if it was all one word, with no spaces, vs. when I remember to put spaces.
Get Your Students to Touch the Words
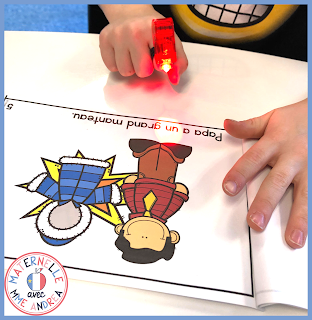
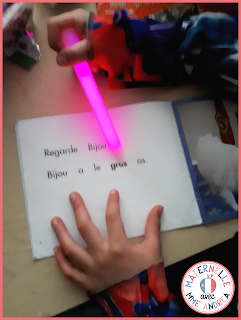
Use Special Pointers
Glow sticks are another fun option!
Use Resources Specifically for Practicing 1:1 Correspondence
Some resources that I find really helpful for my students who are still struggling with this are the ones that I created specifically for my students who find 1:1 correspondence challenging.
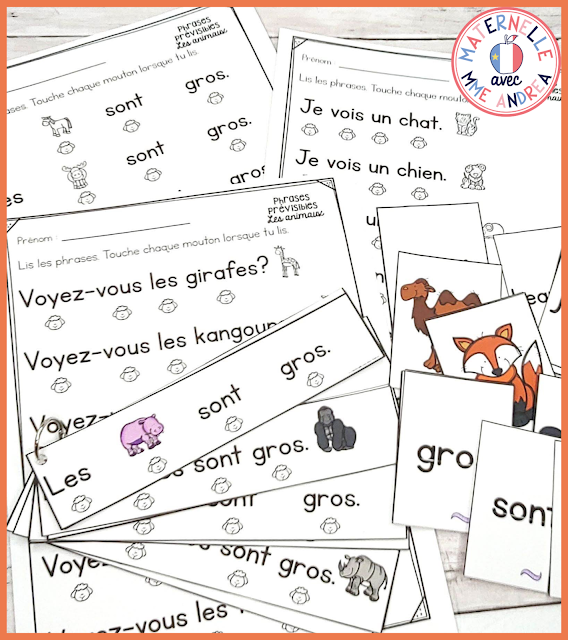
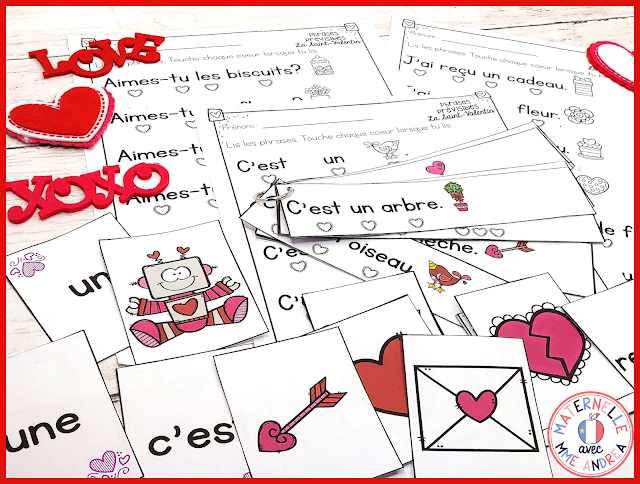
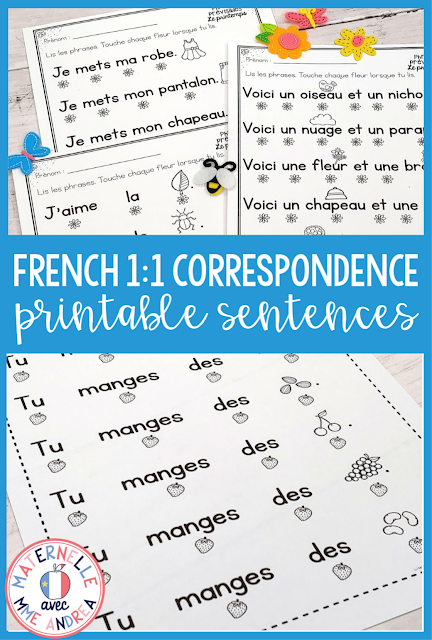
In each resource (I have a bunch of themes), there are 10 different sentences showcasing a variety of sight words and vocabulary words. Each sentence is included in four different formats – two each of “sentence strip” style and “worksheet style”.
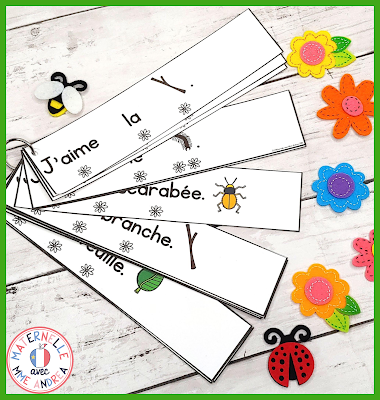
ALL of the sentences have special, thematic “dots” under each word, to encourage your students to remember to touch each one.
So in the spring pack, for example, they will touch the flower under each word. In the animal set, they will touch the sheep.
Each themed set includes 10 different sentences. By including 10 sentences, my hope is that there will be sentences for everyone.
The main goal of this resource is again, to practice 1:1. So, the first choice you’ll need to make is which sentences you’ll want to use. You do NOT have to use all 10 every time, or with every student!!! I included a variety in hopes that as many students as possible will have at least 1-2 sentences that they can be successful with.
Since the most important goal is really 1:1 correspondence, you will want to choose sentences for your groups/students that correspond to the sight words they already know.
You might be able to get away with adding 1-2 new ones, but the goal is really to have them focus on touching each word and being careful that a word they say corresponds to a word on the page. If your students have too much to focus on (eg too many new sight words/too many new vocabulary words), they may not remember to focus on the 1:1 as well.
Of course, you can set them up for success by scaffolding and making sure to explicitly teach them the sight words they will need to know before you give them a certain sentence strip, just as you would with a book.
What’s In the Resource?
In each resource, there are sentence strips, “worksheet-style” sentences and flashcards.
There are two different kinds of strips.
Each style has the same essential sentences. But, one style has the vocabulary word written at the end, PLUS a picture of it. The other style has just a picture of the vocabulary word, without the word written underneath.
I actually use both, depending on my students and if I am sending it home or just using it in class to practice.
If I am sending it home and I know that that particular student’s parents can speak French (or will take the time to look sometimes up), and/or if the student has an excellent vocabulary in French, I’ll often send the strips without the word written underneath.
That way, if a student uses a vocabulary word different than what is written down (eg. chaussette vs bas), it’s no problem – they are technically still correct!
I don’t want my students to be corrected at home if they say one vocabulary word that is technically right but is different than what they said.
What’s most important is the 1:1 for this activity – I don’t want them worrying about if the sounds they say are matching the sounds written down.
But, some families don’t have any French and some of my students still don’t have a whole lot of French at this point in the year. That’s fine, and I will work with where they are at!
For these students, I find the strips with the word written underneath are best. They help parents help their kiddos.
For each theme, starting around Christmas, I have a few sets of each of the strips printed and prepped and ready to go.
I just choose a few that work with the student I want to send them home with (I don’t send them all home to anyone, and I send different ones home depending on each students’ abilities), pop them on a binder ring, and add them to their reading bags after we practice them a few times together.
The big thing that we focus on while practicing is remembering to touch each dot under each word, and saying just ONE word when our finger is on it.
These strips also provide some extra sight word, 1:1, vocabulary, and directionality practice for those students who need it, and I love having them to add to my regular guided reading materials and activities.
I am always careful to remind parents to only work for a maximum of 10 mins a night, and to let their child choose what they want to work on from their reading bag during that time. So, some students might practice their strips every night, and some may never practice them – but, the option is there for them!
Squeeze in Extra Practice Whenever You Can
In each of the 1:1 correspondence packs, there is a second format for the sentences included – the “worksheets”.
I call these “worksheet-style”, but your students won’t be completing these like typical worksheets, with a pencil… but they are meant to be printed on a piece of regular copy paper, like a worksheet.
These sheets are great, quick practice – they are all on one sheet, you can print them in black and white on regular paper, and students move through them pretty quickly as all sentences on a page have the same structure, and they don’t have to flip through like they do with the strips.
One thing you can do is print some of these out and slide them into page protectors as a quick warm-up activity for your small groups.
As I just mentioned, they are much quicker to go through, as your students aren’t spending time flipping through the sentences (which adds more time than you might think!), as they are with the strips on binder rings. They just start at the top of the page and read, still touching each dot. They can really get into a rhythm with these!
Since I don’t send the strips home with all students every theme (mainly because I don’t want to prep that many, and lots of my students have 1:1 already mastered, so I want them to focus more on other skills), I often will use the worksheets as a warm-up every now and then with those groups.
But, my FAVOURITE way to use the worksheets is pretty clever, if I do say so myself ;)
What I like best is to photocopy them back to back with another worksheet that we are doing!
So, if we are doing a colour-by-letter activity for example, or a sight word activity sheet, I copy a 1:1 worksheet page onto the back of that sheet.
Before my students get started with the actual work, they start with the backside and read all of the sentences once. I love this!!
It only takes 1-2 minutes, but gives EVERY student some great practice, without adding any extra paper to our day.
Plus, my students who might struggle to remember the pattern or certain vocabulary words are hearing their peers read all around them, and learning from what they are hearing!
If you have any students who would be overwhelmed by all those sentences to read on one page, just grab a piece of scrap paper and cover all but the sentence they are reading. Then, slide it down when they are ready to continue.
You can also fold the sheet up when you are photocopying so that fewer sentences are copied. But so far, this has worked really well in my classes and my students get really excited about it!
Use Flash Cards to Build Sentences
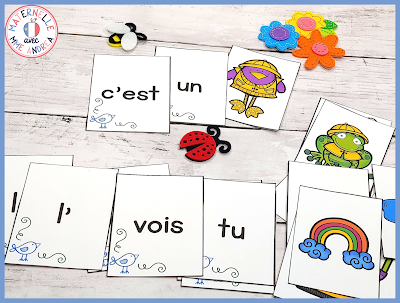
Another way to help your students understand what a word is is to build sentences together using flashcards.
Having one word per card provides a clear divide for students of where a word begins and ends.
I like to get my students to exaggerate the spaces in between each card a bit, too. We want them to start noticing spaces in between words when they are reading, and start adding them into their writing!
One-word flashcards can really help with students who think that one syllable = one word.
In all of my Correspondance mot à mot packs, I’ve included flashcards for every sight word and vocabulary word included in the set.
That way, your students will be able to easily build and of the sentences you are working on using the cards!
NOTE: If you’re wondering where to find any of the resources pictured above, CLICK HERE to see the bundle in my TPT store. You can also purchase each theme individually!
In Conclusion…
Looking for more writing tips? Fill out your name & email in the box below, and I’ll email you my FREE guide to writer’s workshop for French primary teachers!

