I have a question for you- have you ever had a student (or more than one) who just could NOT get certain letters (ex. b/d, g/j), despite lots and lots of alphabet practice? I have, many times! And when I first started teaching, I wasn’t really sure how to best support them.
I knew they needed practice and repetition to master these final letters, but I didn’t know how to do that in a way that wouldn’t make me lose my mind prepping activities, switching them up and prepping again.
Luckily, over the years, I’ve learned some pretty fun tricks thanks to TPT. One of them is the auto-populating feature in Adobe.
I decided to use that feature to create some magical (okay, not really magical, but they feel magical to me haha) auto-populating alphabet practice mats!
They work SO well that today I’m going to explain how I prep them and how I use them to help my students learn those last few letters they just can’t quite master.
Step 1: Choosing letters
Step one: evaluate. In order to know which letters your students still need to practice, you’ll need to evaluate their current letter knowledge.
I use this resource to quickly and efficiently assess my students and find out which letters they know/don’t know. Armed with that data, you’ll want to start with 3-5 letters to practice at a time.
To help your students feel success with this activity, you’ll want to choose mostly letters that they know, and only add 1 or maybe 2 new ones.
*If you’re using the tables that practice 3-4 letters at a time, I would recommend only using one new letter. If you’re using the table with 5, you could probably sneak in two (as long as they aren’t too similar).
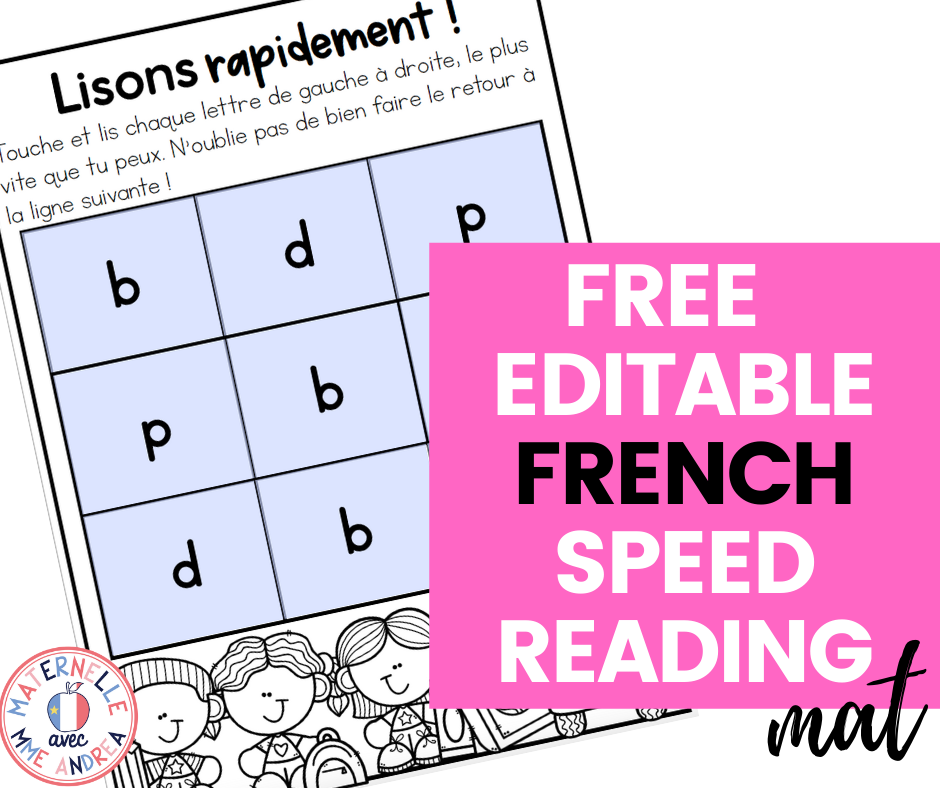
You’re going to use the letters you’ve chosen to create individual speed reading alphabet tables for each student who needs them.
Step 2: Setting up your tables
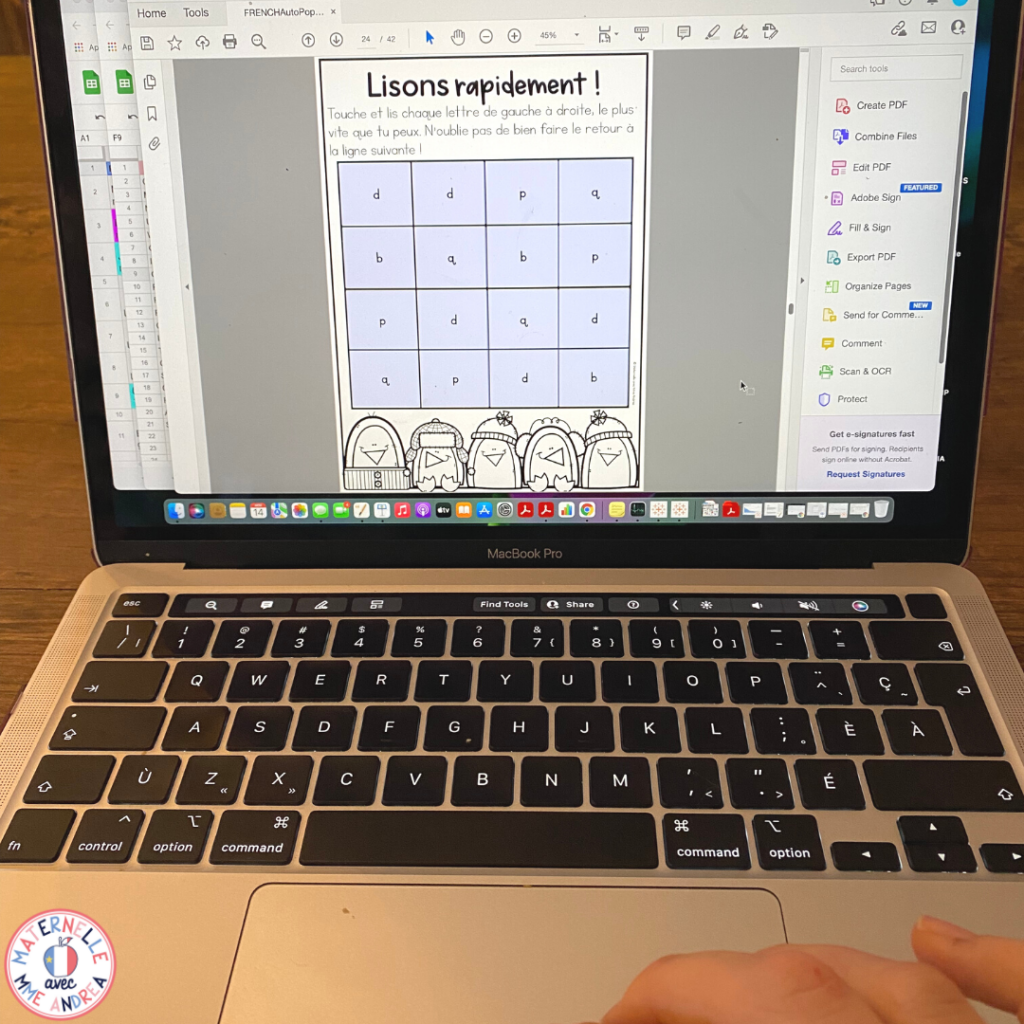
Once you’ve got your letters, open the auto-populating mats
Note: you HAVE to open them in Adobe in order for the magic to work. Opening them in your browser will not work. Adobe Reader is a free download, if you don’t already have it.
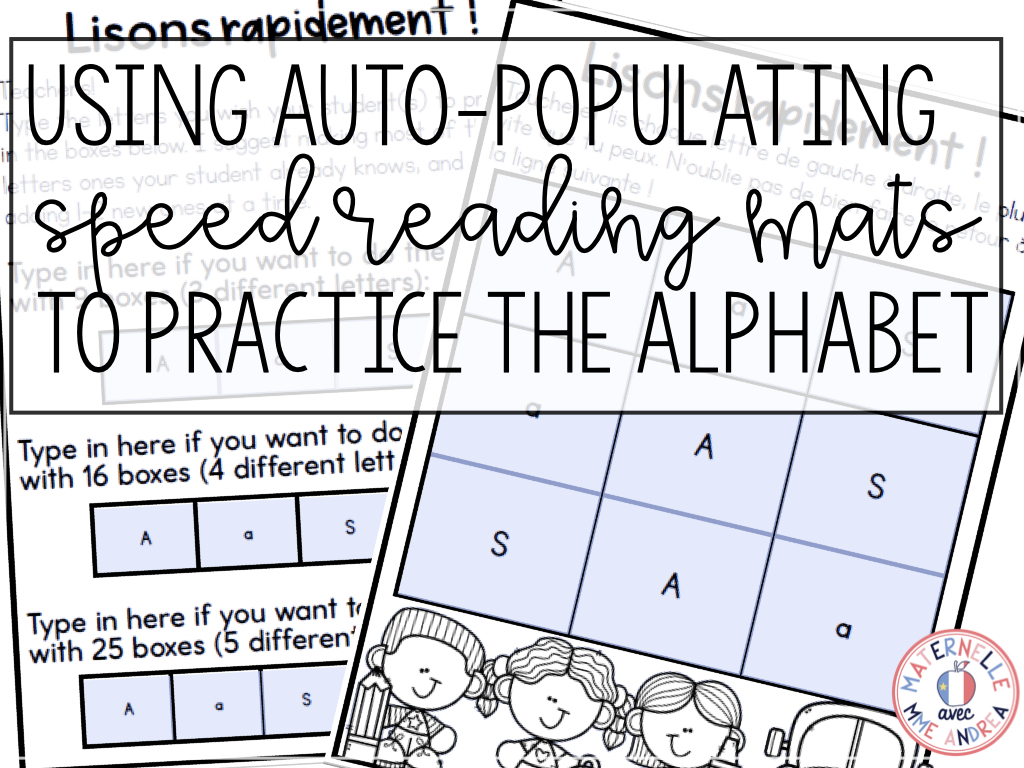
Next, all you have to do is type the letters you want your student to use on page 6 of the resource. They’ll auto-populate and fill the rest of the document!
Finally, choose which sheet you want to print – there are lots of different themes, so you can pick one that’s relevant to the time of year. To create sheets for another student, just change the letters and repeat.
You can save your edits as a new document to come back to, but honestly, it’s so easy to type and fill the boxes that I don’t bother. I just fill in new letters each time.
Step 3: Providing alphabet practice
You can use these tables during small group time as a warm up, or give one to every student and have everyone practice at once for a few minutes a day.
If you have some tricky letters everyone needs to master, you could even make a table and copy it on the back of another worksheet and have students quickly go through the table before starting their actual work.
I prefer small groups so I can listen in and make sure they are saying each letter name/sound correctly.
I also give my students special pointers to use as they read, and am careful to have them move left to right, top to bottom as they go. These tables can also help those students who need practice with 1:1 correspondence.
The pointers I use are just jumbo popsicle sticks with googly eyes or foam stickers stuck to the top, or fancy drink stir sticks from the dollar store.
I often slide the alphabet tables into a page protector and add them along with a pointer to my students’ reading bags for extra practice at home. As they master one, I just slide a new one in front, so they can go back and practice the previous tables.
Step 4: Switching it up
When you reassess your student and they’ve mastered new letters, you can switch it up and put new letters in their table. Fresh alphabet practice in just a few keystrokes! Just remember to only put 1-2 new letters per table, so they’re not trying to remember too many at once!
Also, I usually just print on white copy paper, but you can print these on coloured paper or card stock for an extra pop if you like.
Conclusion
I really hope these make your life easier and help your students get those last few tricky letters down pat!
I LOVE having these in my teacher tool belt as a way to provide effective alphabet practice and repetition, but without having to prep in a time-consuming way.
If you want to try the magic, you can click HERE and fill out the form to try a sample page from the resource. When you download it, make sure you open it with Adobe, and you can try out one of the 3×3 tables.
If you know you want to grab the full resource, you can click HERE to see it on TPT.
And, if you’re looking for more blog posts about how I teach the alphabet, I’ve got one HERE and another one right HERE!

