
Bonjour!
I can’t believe we are already into October. Crazy!
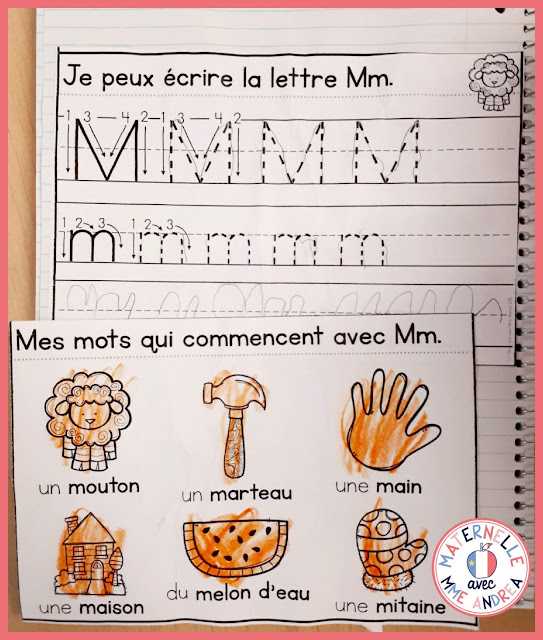
We have been working on our interactive alphabet notebooks since the first full week of school.
(If you aren’t sure what I’m talking about, check out this blog post before you read any farther!)
As I’m sure you can imagine, interactive notebooks can be (in my opinion) more challenging in maternelle than in other grades.
Especially in September!
However, things have been going really smoothly so far this year, so I thought I would pop in and offer a few tips & suggestions that might help in your classroom, too.
It is my hope that, by reading this post, you will be better able to make the most out of your interactive notebooks, have the preparation go more smoothly/efficiently, and experience less mess overall!

Here are my best interactive notebook tips for maternelle:
1. USE GLUE SPONGES
Glue sponges are one of the BEST tools for maternelle!
They are easy to make and result in sticky glue that works well… but NO MESS!!!
If you aren’t currently using them, you have GOT to go check out Mr. Greg’s instructions, in the video below. Seriously. Life changing!
2. USE A PAPER CUTTER
This one might sound pretty obvious, but I mean it haha.
I specifically designed my interactive notebook so that you can use a paper cutter and save sooooo much prep time.
Each activity requires STRAIGHT CUTS ONLY, which makes my interactive notebook a bit unique – most notebooks are designed for older grades, with older student cutting skills in mind.
Seriously. Save yourself the headache and use a paper cutter to prep the activities. The big industrial ones work best if you have access to one of those, but a scrapbooking paper cutter works well, too!
>>> Here is an affiliate link to the scrapbooking paper cutter that I have.
3. DECIDE ON STRUCTURE
Things are likely to go more smoothly if you decide on how you want your notebooks to be structured before you begin.
You may want to work on one letter at a time, or one type of activity at a time.
You may want to add some other activities to your book (for example, I add a bricolage for each letter of the alphabet and a copy of our alphabet poem for each letter).
Little tip – if you want to add a full-page activity from another resource, you can print it 2-4 slides to a page by clicking the “Multiple” button in the Adobe print menu, and it will print out small enough to be glued into the notebook!
4. USE MINI RECYCLING BINS
This is one of my favourite tips!
It really helps control the level of mess/paper scraps on the floor.
You can go to the dollar store and buy a mini garbage can for each of your tables (or, you could also just use a plain basket).
Have your students put their paper scraps in there as they work. Once time is up, a student from each table can easily empty the baskets into the recycling bin!
Your custodian will love you ;)
5. ROUTINE, ROUTINE, ROUTINE… START SMALL & BUILD ON IT!
Finally, I find that interactive notebooks really work best when you build a routine and stick to it.
Of course, if you start your notebooks in the beginning of the year, you won’t be able to start with all of the activities; your students will need to build their stamina.
But, the more you do the same thing over and over, the quicker and more efficient your students will become.
The more efficient they become and the stronger their “working muscles” get, the more activities they will be able to complete – and complete up to your standards.
We always work on our notebooks in the morning, and we are now able to complete 4 activities in under an hour, because we have built up our stamina and my students know what to expect each day.
The first week that we started, just doing the bricolage was a challenge, and we were often only able to complete one other activity within that time.
That’s okay!!! Take your time!
It is amazing to see the progress your students will make with their cutting, gluing, colouring, and stamina… they make me so proud every day!
I hope that the above tips will help ensure that you and your students are getting the most out of your interactive notebook sessions.
Glue sponges, paper cutters, and mini recycling bins are simple tools, but can really make a huge difference to your prep time and the level of mess interactive notebooks can cause.
Deciding on the structure of the notebooks and which activities you want to include, as well as taking the time to establish a solid routine and then building on it, will also go a long way in setting your students up for success.
If you haven’t tried interactive notebooks yet but would like to, I actually have a free sample available for the letter Aa!
By downloading the free sample, you will be able to see if interactive notebooks are something that will work in your classroom, and if the included activities target skills that your students need to learn and practice.
To get your free download, just CLICK HERE and enter your name and email (or enter them in the form below), and I will send it to you right away!
Have a great week!