
Bonjour!
If you’ve been reading my blog for awhile now, you likely know that I LOVE brag tags.
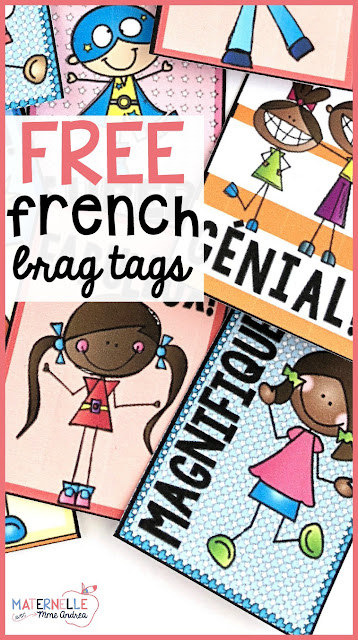
(If you aren’t sure exactly what brag tags are yet, check out this post or this post for more details! Or, scroll to the bottom of this post for info on how you can get a set of brag tags for FREE)
In my first post about brag tags a couple of years ago, I wrote about how I use the ball and chain necklaces from Amazon to display my tags.
But…
Since that year, I have not been able to find the right size necklaces on Amazon!!!
The only ones I have found are so tiny that they would pretty much have to be brag tag bracelets or rings.
So, the past two years, I have just been displaying my brag tags on a bulletin board using shower rings.
But, it’s just not the same when my students can’t get super excited about wearing their tags and showing them off.
This year, I found a solution that I like even BETTER than the ball & chain necklaces!
I actually plan to continue doing this for the rest of the forseeable future, even if Amazon ever gets the right size chains back in stock.
Read on to find out about my new favourite way to display our tags, and how you can do the exact same thing in your classroom!
I’ll share exactly what you’ll need to make an even BETTER kind of necklace, how to do it, and how I keep them organized.

By making brag tag necklaces with your students, they will take even more pride in their tags and be even more excited for the days they can wear them.
Plus, they are inexpensive to make, and your students will get to do an awesome fine-motor activity the first week of school.
They also look AMAZING on a bulletin board!
HERE’S WHAT YOU’LL NEED…
Disclosure: Some of the links in this post are affiliate links. This means that, at no additional cost to you, I may earn a small commission if you click through and make a purchase.
- some sort of cord (I used these plastic ones from Amazon*)
- pony beads*
- shower rings* (I found them less expensively at my local dollar store)
- labels with your students’ names (I used size Avery 5160/8160* and typed my students’ names onto them)
- 30-60 minutes
- Cut lengths of the cord that are long enough to fit over your students’ heads without having to untie the necklaces each time.
- Tie a bead onto one end of the cord (otherwise, the beads will fall off the end as your students are stringing them).
- Set up 2-3 bead trays per table.
- Have your students thread the beads onto the cords. I had them try to fill the whole cord, and most of them were able!
- Tie the necklaces together. I then covered the knot with a piece of masking tape! The cord is super slippery, and might come untied later if you skip this step.
- Add the label with each students’ name (this step is important if you want to make sure that you don’t mix any necklaces up. Even if you display them with students’ names on the bulletin board, if the names aren’t right on the necklaces, they somehow still get mixed up!)
- Add the shower ring (I also always have a “1e jour de l’école” tag already on the ring, to help my students see what kinds of tags they are working towards).
- Display them (I will write a more detailed post about how I made my brag tag necklace bulletin board soon)!

- Hang them up – otherwise, they will get tangled. If you don’t have bulletin board space, you can use 2-3 of these magnetic hooks* and hang them in the corner of your white board or other magnetic space. I actually keep two of those hooks on my board even though I use my bulletin board, so that I can collect them quickly without having to deal with making sure each one is hung up in the correct spot right away.
- Use student names and/or student numbers to help you keep track of whose necklace is whose.
- Make sure that it’s clear to your students that they don’t touch them while they are hanging up. In my class, we wear them on Fridays, but students don’t touch them until that time. I add their tags myself as they earn them, because it’s tricky to open the shower rings, but if your students are older, you may decide to let them add their own tags
- Quickly write your students’ names on the backs of individual tags when you hand them out. That way, if one somehow falls off, you’ll know where it belongs!
- Establish a “brag tag routine”. My routine will be a whole other post, but by establishing a routine from the very beginning of your school year, your students will know your expectations and be better able to meet them. Just like with all your other routines and procedures!
That way, you will be able to see if the full bundle will be worth the investment for you and your students.
Just enter your info below, and I will email you the freebie, and explain a bit more in detail about brag tags, why I think they are so great, and how I get them to work for me in my French kindergarten classroom.