Call me crazy, but we start using glue in my classroom from Day 1.
We do a lot of crafts, which means a lot of cutting and gluing.
If you teach or have ever taught maternelle, then you know that glue can be a hot mess.
Today, I will be sharing my secrets of how we glue lots of things with no mess at all – even in Week 1 – by using glue sponges in maternelle!
Using Glue in Maternelle
I definitely did NOT invent how to make glue sponges, and the tutorial that I followed is so great that I will just link it up *right here*, and you can check out that video for yourself!
But, in case you don’t know what glue sponges are and/or why they’re so amazing, I figured I should explain how they’ve changed my life every September.
I bought the ones with the orange caps where the glue is purple, and they do work pretty well…when they are well taken care of.
But, you know, kids in maternelle in September are very young and not the most responsible.
And, there is so much going on for them that it’s pretty easy for them to forget how to take care of their glue.
So, my students would lose their caps, not put the caps on properly, cut their glue, lose their glue, eat their glue…? And, somehow, they would go through, like, eight glue sticks a year.
Guys, those glue sticks are expensive!
But, I wanted to get started with gluing right away, because there are so many fun and awesome back-to-school crafts that work on so many great skills.
Plus, the kids love seeing their final products displayed on our classroom walls right from Day 1.
White glue is generally so messy and sticky that I didn’t think it would even be an option.
But then, I saw a video on Facebook all about glue sponges, and I knew I had to try them right away!
So, what are glue sponges?
How to Use Glue Sponges in Maternelle
You keep them in a reusable sandwich container with a lid (I get mine from the dollar store).
To make them, you can watch the tutorial, but basically, you wet the sponge, put a layer of glue in the bottom of the container, place the sponge inside, and then put more glue over the top.
You will want to make these a few days before school starts to let the glue soak into the sponge. I make one glue sponge for every two students, so I will make eight this year.
Throughout the year, if they get dry, you can spray the sponge with some water and/or add more glue.
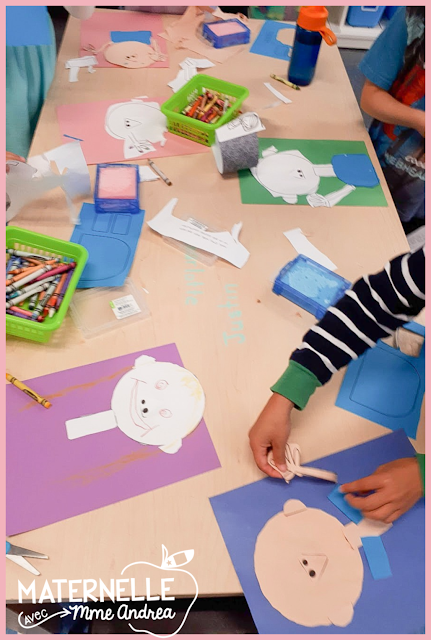
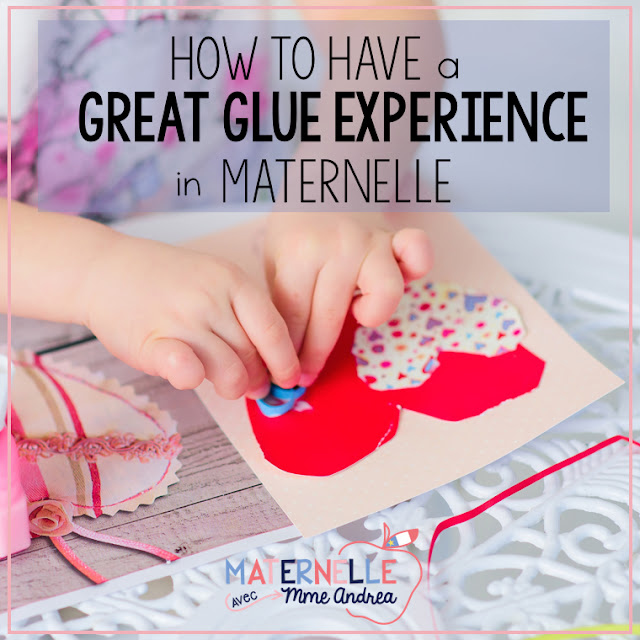
When your students need to use glue, they just open the cover, take the paper that they need to glue, place it over the sponge, and “tap, tap, tap” with their finger to get some glue on the back.
This works amazingly well for small pieces of paper, with minimal sticky fingers.
 |
| Here’s a picture of my students using glue sponges to make our David crafts on Day 1 of maternelle! |
It works less well for large pieces of paper, but it is still possible. You will just have to teach your students to turn their paper to get some glue on each corner.
I do transition my kids to regular glue sticks later in the year – usually after Christmas break.
They are more ready for the responsibility then, and there are fewer new things going on. This has really cut back on the number of glue sticks each student needs!
Glue sponges are amazing for crafts and interactive notebooks, so they are perfect for the beginning of the year!
Here are some of the activities I do in the first month of the year with glue sponges:
- FREE David à l’école craft
- French Alphabet Crafts
- Trions les sons
- Cut & Paste Math Sheets
- Interactive Alphabet Notebook (click for a FREE sample)
Have you used glue sponges in your classroom? What are some tips and tricks you have for success with them?


