
Do any of these scenarios sound like you and your French primary students during your independent literacy centres?
- You’ve carefully explained in detail where to go and what to do at each literacy centre. When you tell students to go and get started, somebody looks at you as if you have three heads. They say they have no idea what to do or where to go. Every! Time!
- You have your small group at your table and everyone else is off at their literacy centres. Until… you are interrupted by a student who needs to go to the bathroom or forgets what to do.
- The first round of literacy centres is over and it’s time for students to hand in their work… But, at least half of your students have nothing to show for their centre time. They forgot how to do the work for their centre!
All of those three literacy centre scenarios used to happen regularly to me. And for awhile, they drove me CRAZY!
I knew that I needed to run literacy centres so that I could work with my small groups. But, my other students were not set up for success. So, I was often interrupted, students often didn’t do their work properly, and I spent WAY too much time reminding everyone where to go and what to do.
And the worst part? All of that frustration was totally my own fault!
I just didn’t know how to help my students be independent at literacy centres, learn how to work the whole time, or problem-solve when something went wrong.
Over the years, I have fine-tuned my independent literacy centres routine. Today I’ll share my 3 best tips for helping your French primary students to become independent during literacy centres, too.
Tip #1: Use a Independent Literacy Centres Board
Every year, I set up a literacy centre board. This board lets my students know where they are working and who they are working with… and I don’t even need to say a word!
My literacy centre board is made out of two mini pocket charts that hang side-by-side. I got them at Michaels a couple of summers ago.
The left side of the pocket chart is where I put an image to represent each centre. For example, for the writing centre, the picture is a piece of paper and a pencil. For “écouter un livre”, it’s a stereo and a book.
Beside each of those images I put a photo of each student who will be working at that centre for the first rotation (my students stay with the same group during centres everyday, so I don’t often mix up their groups).
You can see a picture of my board below. Of course, I’ve blurred out my students’ faces.
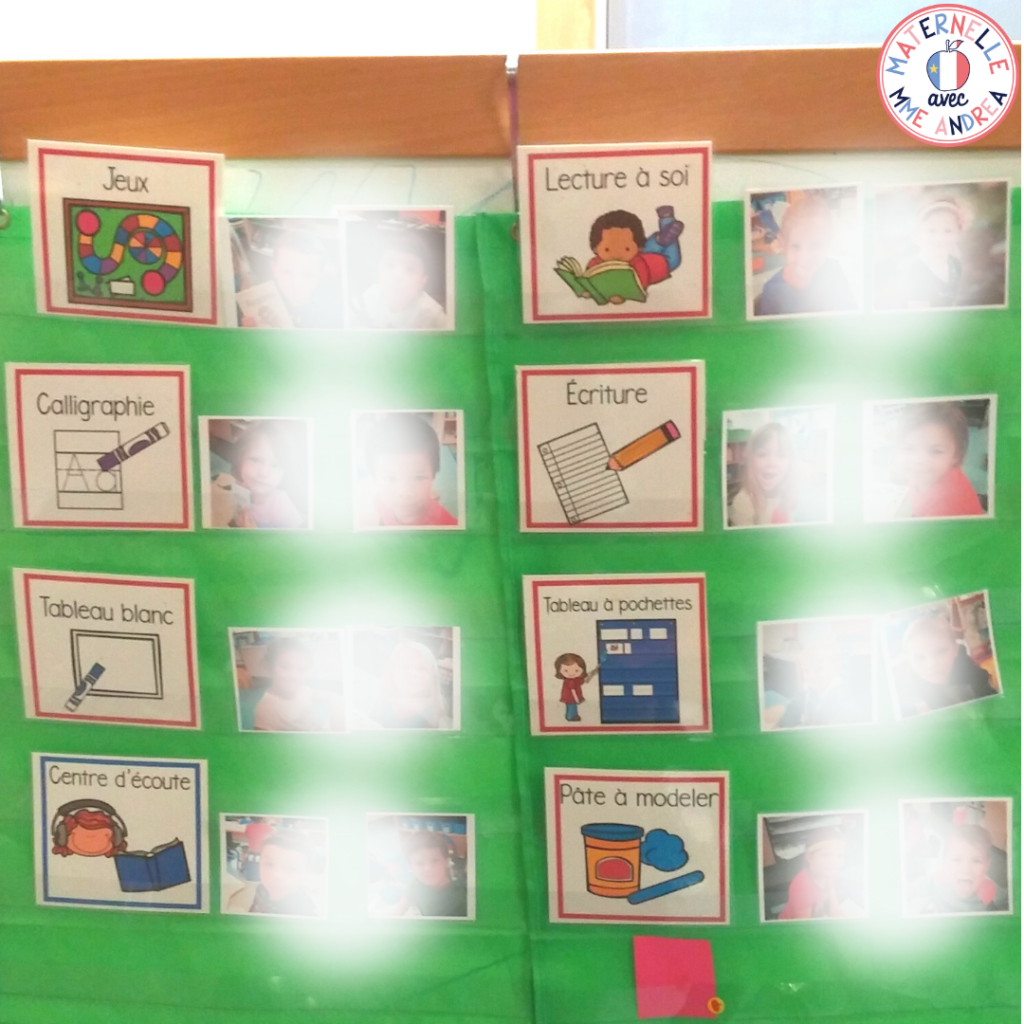
When it is time to rotate centres, all I have to do is slide down the image representing each centre (and move the bottom one to the top, of course). My groups don’t move; just the card showing their centre.
So, if I am running six centres, I just rotate the six centre cards. The student photos stay where they are.
When a group is scheduled to work with me, I just slide a “travailler avec Madame” card over the regular centre card. This way, I don’t have to work with my groups in the same order every time. Some groups are seen more than others, depending on their needs.
Plus, if I just want to pull one student for an assessment, the other group members have somewhere to go.
One More Important Card for you Literacy Centres Board
The other important card for my centre board is the bathroom card. I drew a picture of a toilet on two different sticky notes. At my school, we have a bathroom for female students and another for male students. So, I used one colour of sticky note for each bathroom.
If a student needs to use the bathroom during centres, they walk to the centre board, check to make sure that the sticky note for the washroom that they will be using is available, and then they can slide it over their photo.
They go to the bathroom, and when they come back, they put the sticky note back to the bottom of the board. Then, the next student who needs to use the washroom will know that it’s available.
At my school, we are only supposed to send one student to each bathroom at a time. So, if a sticky note is in use, students know they need to wait their turn. And, they don’t interrupt me to ask to use the washroom, but I can just glance quickly at the board to see who is out of the classroom.
This doesn’t always work perfectly, but it works pretty well! Of course, this will take some modelling and practice. The first few days you introduce this idea, it’s likely that most of your students will want to try it out. But, the novelty will wear off after a couple of days!
Tip #2: Use Matching Literacy Centres Cards to Show Students Where to Work
My next tip is to use matching picture cards to show students WHERE to work.
I have a larger version of each of my centre board images that I use to show my students where I want them to do their jobs.
I’ve also got another, smaller, matching picture card for each centre that I put on the bin that contains any materials they need to do their centre.
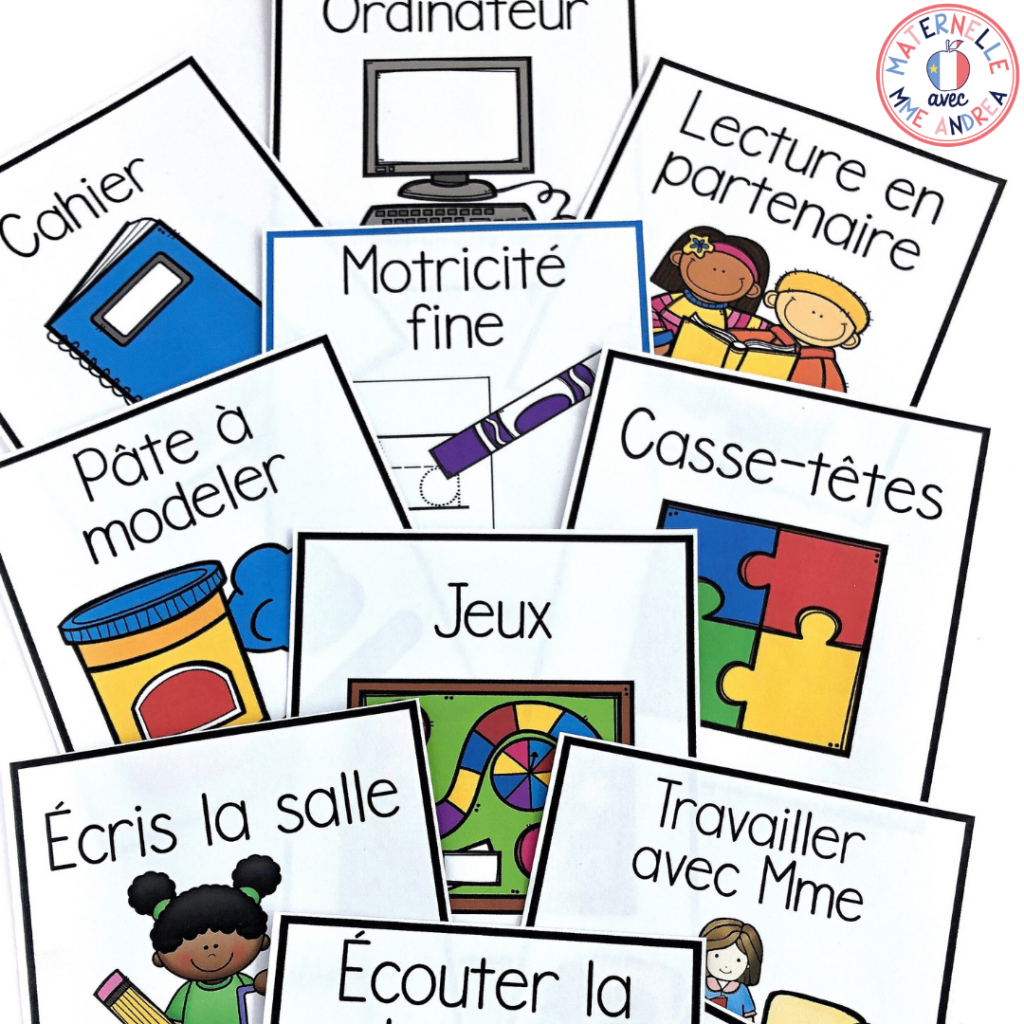
I model and we practice what to do when my Madame says: « vous savez quoi faire! ». When they hear me say that, students know what to do!
They walk to the centre board, and find their photo and the centre card beside it for this rotation. Then, they find the bin with the matching centre card. Finally, they walk with their bin to the spot in the classroom that has the matching picture card showing them where to work.
They take their materials out of the bin and get to work right away.
If they can’t figure it out, I teach my students to check who their group members are. Then, they can problem solve together to figure out where to work and what they should be working on.
If they still aren’t sure, this brings me to tip number three…
Tip #3: Use “I Can Cards” and Visuals for Literacy Centre Instructions
Every time I introduce a new centre, or anytime I notice a group was off track or didn’t complete an activity correctly, I explain the activity again before the next rotation.
(My students always come back to the carpet in between each centre, so I can teach them a new mini lesson, make sure everyone is on track and ready for the next rotation, and/or review something they seem to have forgotten.)
But, even with all of these explanations, some students still forget what to do when they get to their spot with their bin.
To help with this, many of my centres come with an “I Can Card” that has directions written in a student-friendly format and LOTS of visuals.
Even for students who can’t read yet, having the instructions laid out visually can jog their memories and help them find success with their centre.
Not all of my centres have these “I Can Cards”, but many do. If you want to see what I mean, you can download the centres in my free French resource library to see and try out some examples.
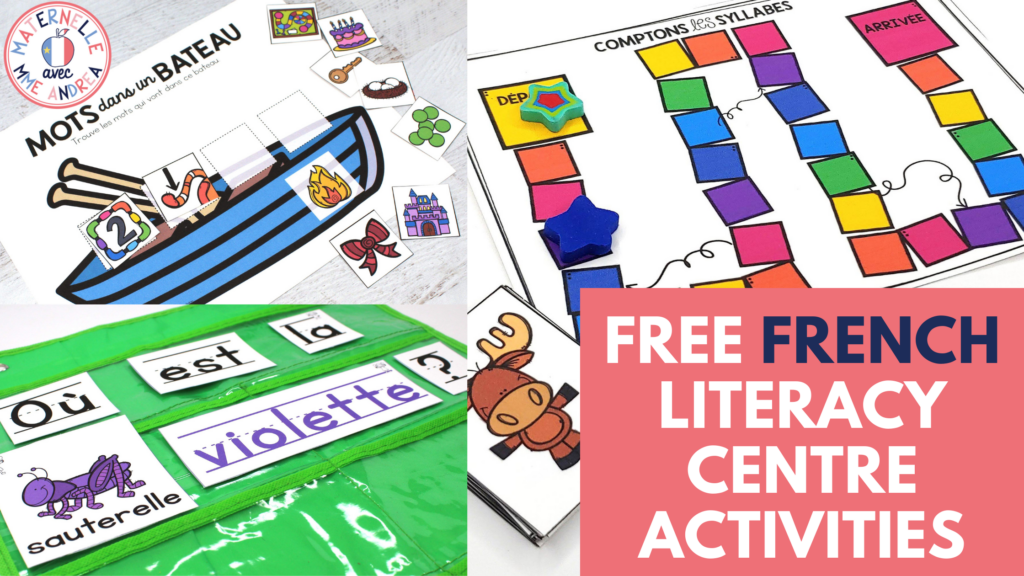
For example, the Phrases fantastiques freebie and my Eek! games all include “I Can Cards”. These will help your students be successful with these activities.
I prefer to use the “I Can Cards” with activities that we do all throughout the year, but with different themes. Each time I introduce a new theme, we review how to do the activity. So, students can often remember what to do and the “I Can Card” is enough of a reminder if they need it.
But, if we have a brand new centre that we have never tried before, sometimes I will co-create an instructions poster with my students with pictures after I show them what to do.
Creating the poster together helps more of my students remember what to do when they get to this activity. It also helps me ensure that everyone understands all of the steps.
When we do this, I just hang the poster up by the centre card showing students where to work. You could also add it to the bin with the materials.
Where to get these literacy centres cards
The literacy centre cards that I use are available for purchase on TPT here :).
I’ve included a wide variety of cards, but there are editable cards as well just in case. If I missed an activity that you like to do in your classroom, you can make a card.
There are two smaller cards for each activity and one larger one. You can use these for your centre board, your bins, and your location. You can always print more if you need to!
And remember, to check out some “I Can Cards”, hop over to the Free French Resource Library. Visit the “Centres” section, and you’ll find some there.
You’ll find lots of literacy centre ideas in there, and many include the cards as well.
Conclusion
All of the above have definitely helped my students become more independent during literacy centres. They’ve drastically reduced the number of interruptions I get when I’m working with my small groups.
If you’d like to try one of my literacy centres, put your name and email here, and I’ll send it over!
I am sure that these tips will help your students, too.
PS – if you’re on the hunt for more independent literacy centres, you can find my year-long literacy centres bundle here!