Today I am going to share with you the secret to how I keep all of my student data organized. Now, it should be noted that by nature, I am not the most organized person! I am definitely a Type B teacher, and use sticky notes instead of detailed lesson plans, change my ideas on the fly, and sometimes have a hard time keeping my desk tidy. However, I do really want to become a more organized person, so each year I try to focus on something new to work on in that regard. Also, I know that there are certain things that are non-negotiable and must stay organized (like student data), and I do all right at those!
In the past, I have used hanging folders to organize my student data. Each student would have a folder with a duo tang inside with their standard evaluations (letters, sight words, numbers, print concepts, etc.) and I would also stuff in other rubrics or evaluations as they were completed throughout the year. Then at parent teacher or during team meetings, I could just grab each child’s folder and I would have everything I needed.
In theory.
In reality… it was very annoying to stuff the folders (so sometimes I found piles of completed rubrics at the end of the year that were not in student folders), they took up a lot of valuable space in my drawer. Also, if I was evaluating something at home, it was impossible to bring everyone’s folder with me. Additionally, I had another binder full of running records, and it was quite inconvenient to have data in two different places. Since evaluation was a board-wide goal for us for the past four years, I was given a lot of great handouts and resources about it at almost every PD day.
However, I couldn’t tell you where any of them are right now!
Not good.
So, this year, I have decided to go a different route :
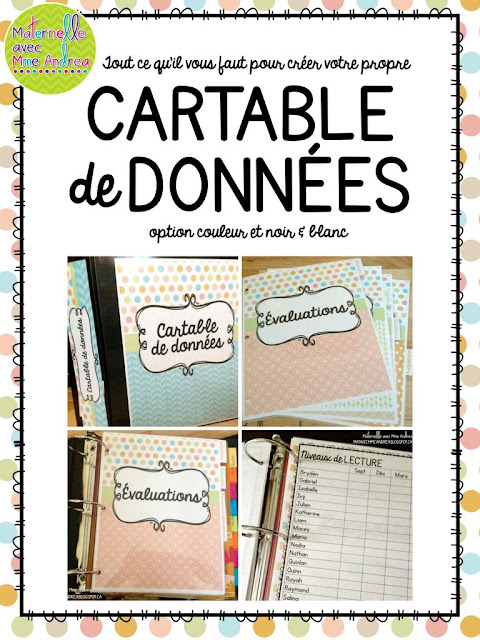
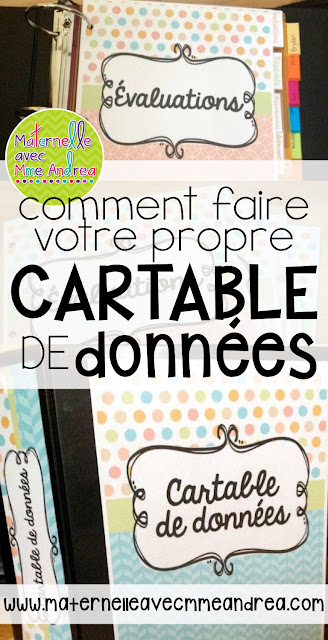
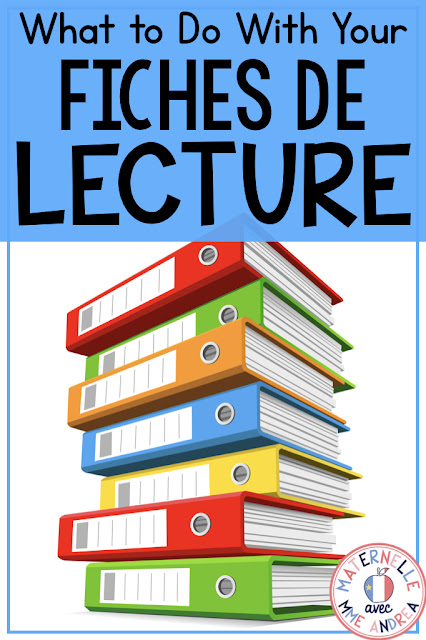
I will be using one big 2″ binder to house all of my student data! Isn’t it pretty? I know that pretty isn’t what usually counts, but… I am way more likely to use pretty things haha. I find them motivating!
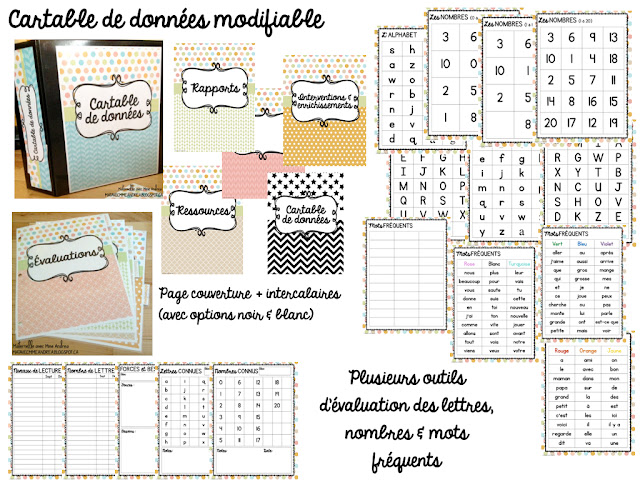
My data binder is divided into five sections: Évaluations, Rapports, Ressources, Interventions et enrichissements, and a fifth section with a tab for each student.
 |
| So coordinated! |
For section five, I used an Avery Big Tab Pocket Insertable Plastic Divider for each of my students. I like them because each one has a pocket, but they are pricey – about $5 for a pack of 8. I got mine at Staples. I have 16 students as of now, so I got two packs. I made the other tabs myself using a glue stick and some lamination.
First, I printed out my divider pages and cut out the rectangular tabs.
Next, I flipped over the divider page so the white side was facing up. I put glue on the FRONT of the tab (the side with the word) and glued it face down onto the divider page. I just have a little laminator, so I had to make sure that the tab didn’t stick out too far.
Next, I put the whole thing in a laminating pouch and ran it through my laminator.
Then I cut out around the tab.
Finally, I hole-punched them. Easy peasy adorable homemade dividers! You could also just use post-it flags, but I always worry about them falling off.
In section one, Évaluations, I will keep my master lists. I love using ESGI Software to evaluate my students on their sight words, letter names, and numbers, but sometimes I don’t have access to a laptop or the time to get set up when I have a couple of spare minutes. So, I will now keep a master laminated list of the alphabet and numbers 1-20 (out of order), and then I can pull kids aside whenever and get them to go through the list as I check off what they know.
I will also keep a master list of each of my sight word lists in this section, for the same reasons, and a master copy of each of my grilles d’évaluation for French and Math. All of my French ones are made for each outcome, and I am working on Math, so I hope to just be able to grab the master from this binder when I am ready to evaluate, print a copy for each student, and go!
Section two is called Rapports. In here, I will keep all of the data that shows my class as a whole. ESGI Software shows you great graphs of the most and least known letters and numbers, and I find this extremely useful. I also keep a running list of my students’ reading levels and guided reading groups, and we do some whole class oral communication evaluations as part of our school improvement plan, so I can keep those in here too.
Section three, Ressources, is where I will keep all of those great handouts about evaluation from PD days. I can also keep examples of rubrics or grilles d’évaluation from other teachers that I will modify for my class. My school is great for sharing!
In section four, Interventions et enrichissements, I will keep notes from team meetings, a master copy of the Forces & besoins sheet we fill out for any student we refer to team meetings, and ideas for behaviour plans or enrichment plans.
Section five is for individual student data. Each student will have their tab with a pocket where I can put notes about each student. Between the tabs is a great place for completed grilles d’évaluation, running records, data about letters/numbers/sight word progress, individual behaviour or enrichment plans, etc. This part is the real meat and potatoes of the whole thing! I can’t wait to have it all in one organized place, and to have proof and data under my fingertips whenever I need it. Classroom and student data is SO IMPORTANT for any teacher – you need to know where your babies are in order to help them get to where they need to be!
In case you need help keeping your student data organized also, I have turned my binder into a TPT product, and guess what – it’s editable! You can customize it with your own sections, class lists, sight words, and more! I included all kinds of pages (30 in colour and 30 in black & white!) that can be used for tracking whole class data and individual student data. If you already use my product Apprendre les mots fréquents to teach sight words, there are master lists for each colour list included as well. If you don’t, there is a blank one where you can type your own sight words :)
Each page is included with a colour option and a black & white option, so you can mix and match (I did!) depending on your needs. Any page that will need to be photocopied, I printed in black and white, and any page that I could use for the whole year, I splurged and printed in colour. Pretty things, people, pretty things ;)
Instructions for editing are included in the download, but you will need either PowerPoint or Keynote to open and edit the document. I included text boxes where I thought you would need them, but you can add, delete, move, or reformat any of them. If you want your fonts to match the rest of the document, you will need to download and install these two fonts, which are free for personal use:
KG Primary Penmanship and KG Always A Good Time.
Click either image below to find it in my TPT store!
If you download this product, I would LOVE your feedback!
Let me know any other pages you may need, and how it works for you!




wonderful
Thank you! :)